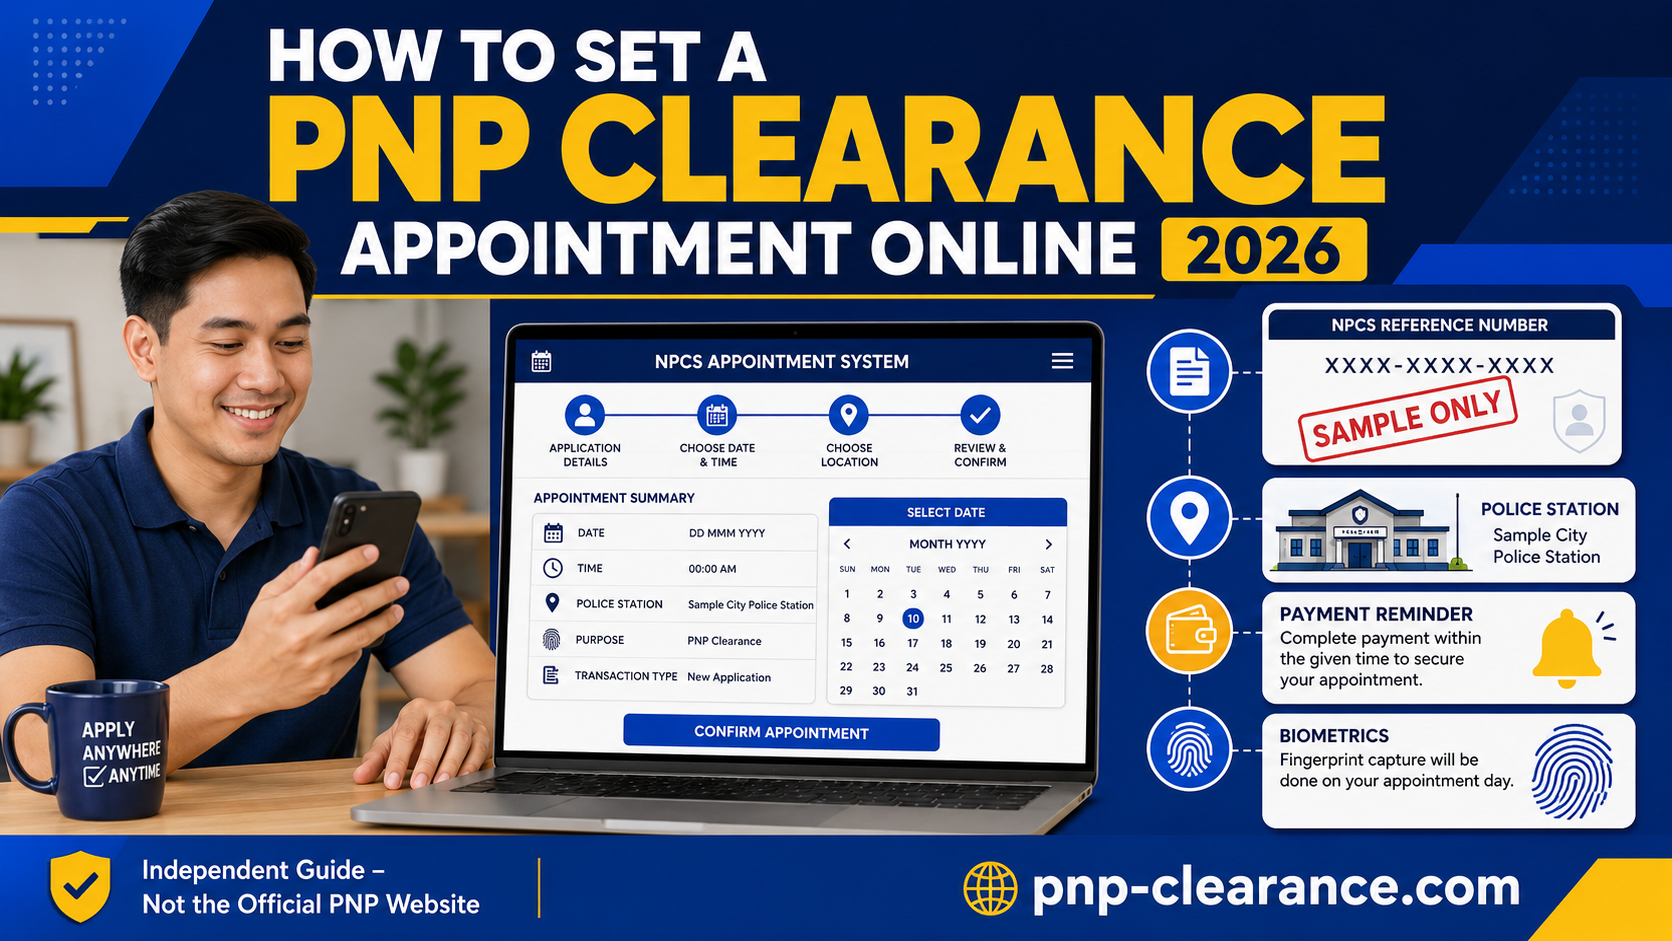
How to Set a PNP Clearance Appointment Online 2026
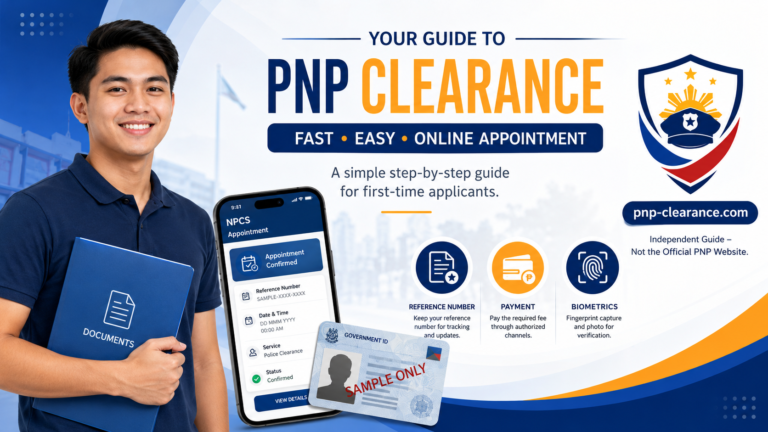
Do you need to schedule a PNP Clearance appointment online in 2026? The appointment process begins through the National Police Clearance System (NPCS), where an applicant signs in, completes the required profile information, chooses an available police station and schedule, and obtains the transaction details needed for payment and the station visit.
This guide explains how to set a PNP Clearance appointment online step by step. It also covers what to prepare before booking, how to choose the correct police station, what information to save, what to bring on appointment day, and which mistakes may cause avoidable delays.
Independent-guide notice: PNP-Clearance.com is an independent tutorial website. It is not owned, operated, endorsed by, or affiliated with the Philippine National Police. Always use the official National Police Clearance System portal for an actual application. Portal options, available stations, schedules, fees, payment channels, and local procedures may change without notice.
Quick Steps for Booking a PNP Clearance Appointment
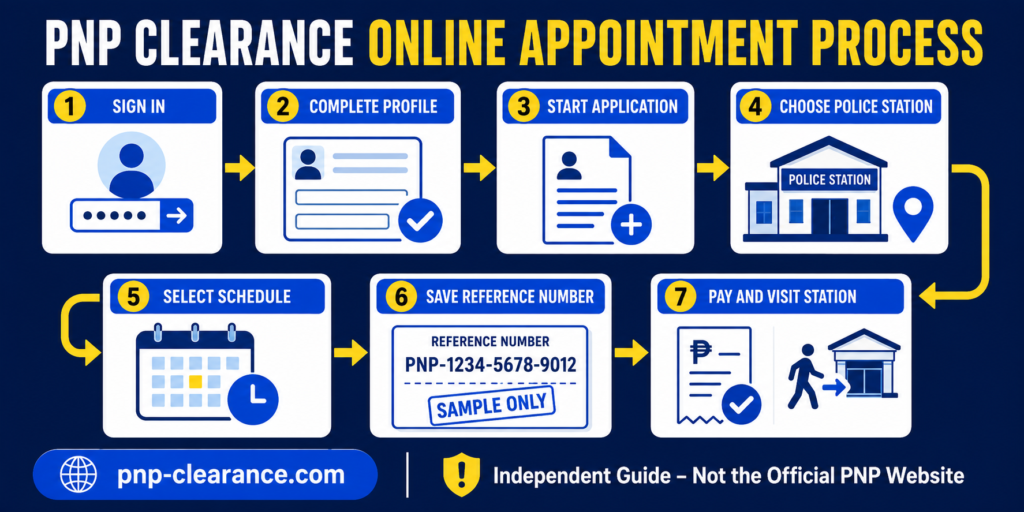
Here is the basic process:
- Visit the official NPCS portal.
- Sign in to your existing NPCS account or register for an account.
- Complete and review your applicant profile.
- Open the clearance-application or appointment section.
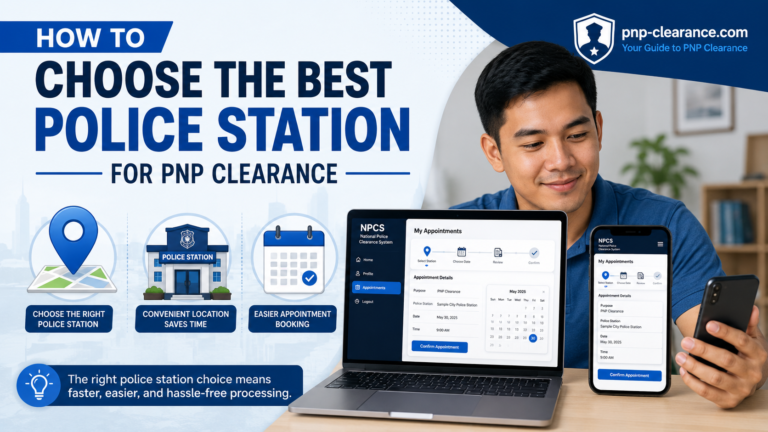
- Select an available police station.
- Choose an available appointment date and period.
- Review the station, schedule, and applicant details.
- Confirm the transaction.
- Save the NPC reference number and appointment information.
- Follow the payment instructions displayed for your transaction.
- Keep the payment confirmation or official receipt.
- Personally visit the selected police station on the confirmed date.
The exact buttons, payment choices, and available schedules shown in your NPCS account may change. Follow the current instructions displayed by the official portal and confirm unusual requirements with the selected police station.
What Is a PNP Clearance Appointment?
A PNP Clearance appointment is the schedule connected with an applicant’s National Police Clearance transaction. During online booking, the applicant selects a participating police station and an available appointment date or period.
The online appointment does not complete the entire clearance process. Applicants still need to appear personally at the selected station because authorized personnel may verify the original identification document, review applicant information, capture a photograph, fingerprints, and signature, conduct record verification, and process the clearance for release.
A relative, employer, coworker, travel agent, or fixer cannot complete your personal identity and biometric procedures for you.
What to Prepare Before Setting an Appointment
Preparing the following items first can make the booking process easier:
- An active email address that you personally control
- An active mobile number
- An existing NPCS account or the information needed to create one
- Complete and accurate personal information
- An original, valid, readable, and unexpired government-issued ID
- A second valid government ID, if available
- A preferred police station and one or two backup stations
- Several possible appointment dates
- A secure internet connection
- A phone or computer that can save screenshots
- Access to a payment method offered for the transaction
For a complete document checklist, read our guide to the PNP Clearance requirements for 2026.
Make Sure Your Personal Information Matches Your ID
Before booking, compare your NPCS profile with the original government-issued identification you intend to present. Check your:
- Complete legal name
- Middle name, when applicable
- Suffix such as Jr., Sr., II, or III
- Date of birth
- Place of birth
- Sex and civil status
- Current address
- Email address
- Mobile number
Do not use a nickname unless it legally forms part of your name. Differences involving a surname, middle name, birthdate, birthplace, or suffix may require additional verification.
Decide Which Police Station Is Practical
Do not choose a station based only on the first available date. Consider its complete address, travel time, transportation options, operating conditions, and whether you can arrive early.
Your confirmed transaction is connected to the station you select. Do not assume that another police station can process the appointment. If you need help comparing locations, read how to choose the best police station for PNP Clearance.
How to Set a PNP Clearance Appointment Online: Step-by-Step Guide
Step 1: Open the Official NPCS Portal
Go directly to the official NPCS website. Check the domain carefully before entering an email address, password, ID information, or payment details.
The official domain is: https://pnpclearance.ph
Avoid application links sent by unknown social-media accounts, text messages, unofficial agents, or fixers. A website is not official simply because it contains the words “PNP Clearance,” uses blue colors, or displays police-related photographs.
Security Check Before Signing In
Before continuing:
- Check the spelling of the domain.
- Use a private device when possible.
- Avoid public Wi-Fi for sensitive transactions.
- Do not allow a stranger to save your password.
- Never share a verification code or password-reset link.
- Sign out when using a shared computer.
Step 2: Sign In to Your NPCS Account
Enter the account credentials connected with your NPCS registration. If you previously created an account, try signing in or using the official password-reset option before creating a duplicate account.
Do not repeatedly guess your password or ask an unofficial agent to access the account. For account-access guidance, see how to log in to your PNP Clearance account.
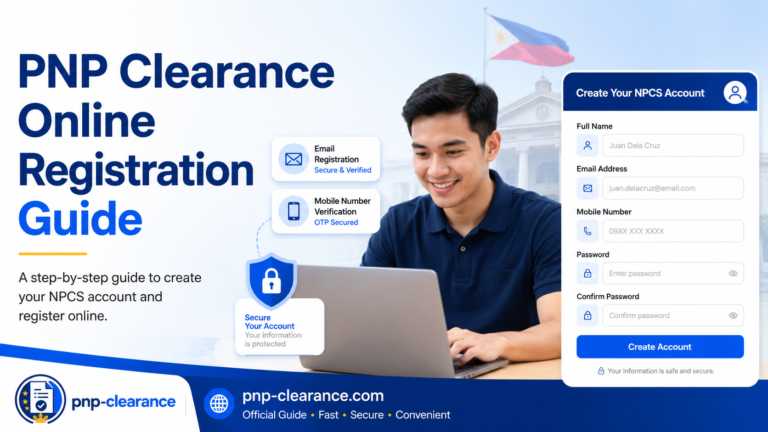
Applicants without an account should complete the PNP Clearance online registration process first.
Step 3: Complete or Review Your Applicant Profile
Open the profile section and complete all fields required by the system. The official NPCS application guide instructs applicants to edit and complete their profiles before proceeding to the clearance-application step.
Review every entry carefully. An appointment created with incorrect applicant information may lead to questions or additional verification at the station. Do not create a new transaction merely to hide a profile error. Use available correction options or contact the selected station when an important identifying detail cannot be edited.
Profile Details That Deserve Extra Attention
Pay particular attention to:
- Compound first names and surnames
- Hyphens and spaces
- Middle name versus middle initial
- Name suffixes
- Birthdate format
- Place of birth
- Current residential address
- Email and mobile-number spelling
Your profile and original valid ID should identify the same applicant.
Step 4: Open the Clearance Application Section
After completing the profile, locate the option for starting a clearance application. The wording or position of the button may change as the portal is updated. The official NPCS tutorial refers to the “Clearance Application” button.
Read any notice displayed on the page before proceeding. It may contain instructions about appointment availability, payment, data review, or personal appearance.
Step 5: Select Your Preferred Police Station
Choose a participating police station from the options currently displayed in the system. Availability may vary by location and date.
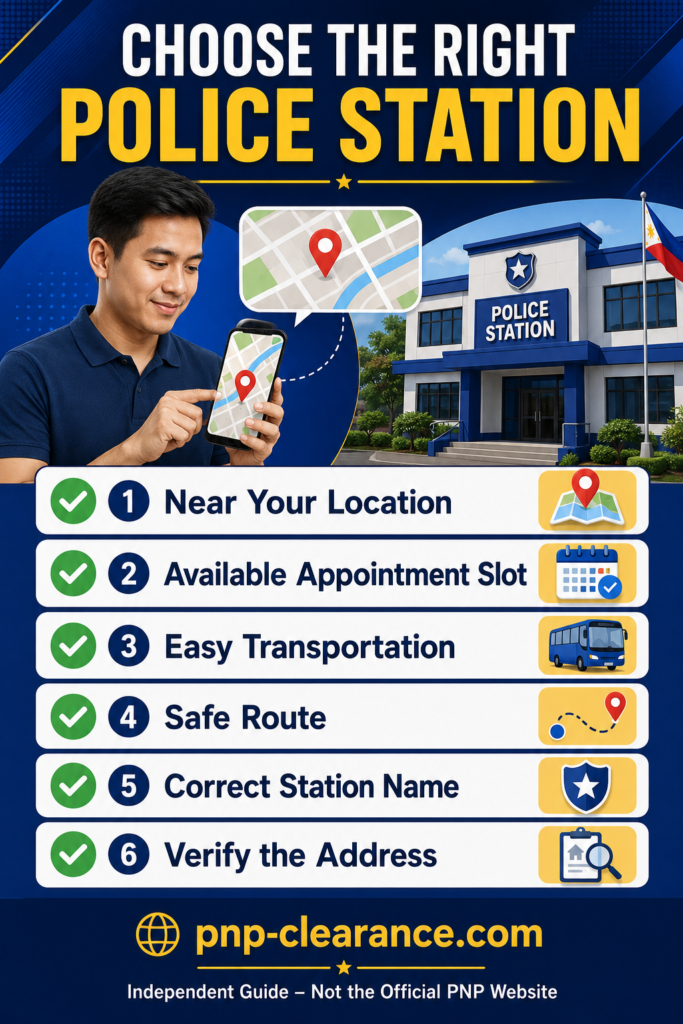
Before selecting a station, verify:
- Full station name
- City or municipality
- Complete address, if displayed
- Distance from your home or workplace
- Available transportation
- Expected travel time
- Safe and practical route
- Whether you can attend on the available date
If two stations have similar schedules, the closer and more accessible station is often the more practical choice. However, availability and station procedures can change, so contact the station directly when important details are unclear.
Step 6: Choose an Available Appointment Date and Period
Select an available date and appointment period shown for the police station. Unavailable or fully booked dates may not be selectable.
Choose a schedule you can realistically attend. Consider traffic, work obligations, school hours, weather, transportation, and the time needed to locate the processing area.
Check the Year and Full Date
Before confirming, check the day, month, and year—not only the day number. This is especially important near the end of a month or year.
If the date you want is unavailable, choose another displayed schedule or consider a different practical station. PNP-Clearance.com cannot create, reserve, or unlock appointment slots.
Step 7: Review the Appointment Details
Pause before confirming the transaction. Review:
- Applicant’s complete legal name
- Selected police station
- Station location
- Appointment date
- Appointment period or time
- Contact information
- Transaction instructions
- Other details displayed by the system
Taking one minute to review the information can prevent travel to the wrong station or arrival on the wrong date.
Step 8: Confirm the Appointment or Transaction
If all the displayed information is correct, use the portal’s confirmation option. Do not refresh the page, close the browser, or press the confirmation button repeatedly while the transaction is being processed.
If the page appears frozen, wait briefly and check whether a transaction was created before starting again. Repeated submissions may cause confusion or produce multiple transaction records.
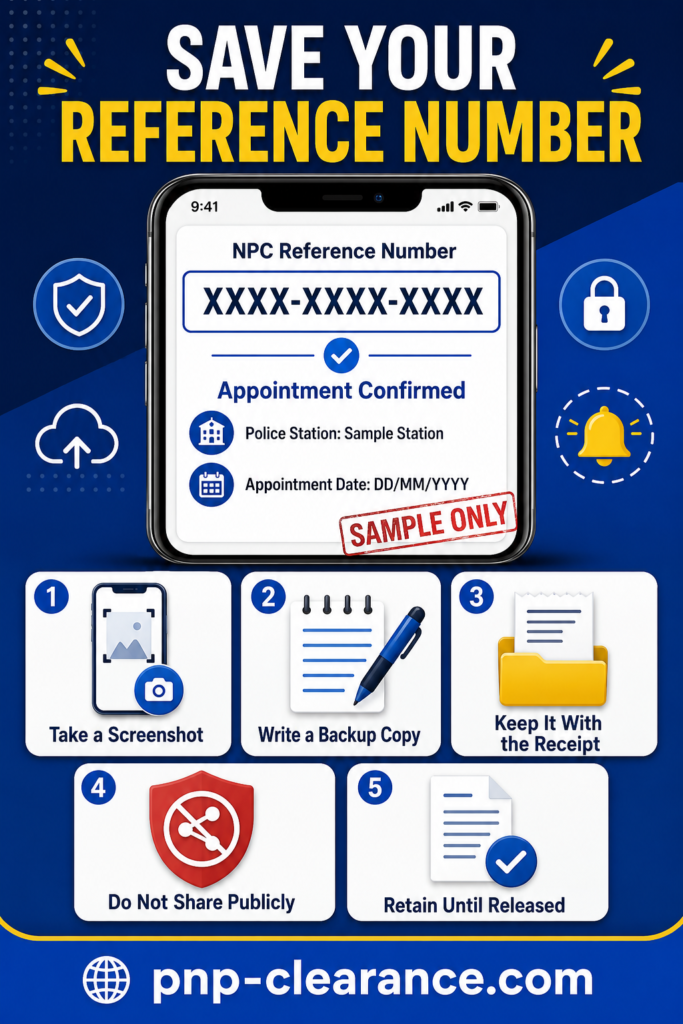
Step 9: Save Your NPC Reference Number
After confirmation, save the NPC reference number connected with the transaction. The official NPCS application guide includes the reference number among the information applicants should present during processing.
Keep it in more than one secure place:
- Take a clear screenshot.
- Write it in a private note.
- Save the appointment page as a PDF when possible.
- Keep it with the payment confirmation.
- Print a copy if convenient.
Do not publish the reference number on Facebook, public groups, comment sections, or marketplace listings. It is transaction information—not content for public sharing.
Step 10: Follow the Current Payment Instructions
Use only a payment channel presented or authorized for your NPCS transaction. Available options, convenience charges, deadlines, and processing times may change.
Before paying, compare the transaction information carefully. After payment, save the official receipt, electronic confirmation, payment-success screen, or other proof provided by the authorized channel.
Your record should show enough information to connect the payment with the correct transaction, such as the reference number or transaction identifier.
What If the Payment Is Not Reflected Immediately?
Do not automatically pay a second time. First:
- Review the official receipt or confirmation.
- Check the reference or transaction number.
- Check the amount and payment status.
- Allow the stated processing period, if one is provided.
- Review the transaction in your NPCS account.
- Contact the payment provider or selected station if the issue continues.
Never send a screenshot containing unmasked personal or financial information to an unknown social-media account.
Step 11: Save or Print Your Appointment Confirmation
Keep a screenshot or printed copy showing the selected station, date, appointment period, and reference number. A printed backup is useful if your phone battery runs out, the device malfunctions, or the station has poor mobile reception.
Create a simple appointment folder containing:
- Appointment screenshot or printout
- NPC reference number
- Payment confirmation or official receipt
- Original valid government-issued ID
- Extra valid ID, if available
- First-time-jobseeker documents, if applicable
Step 12: Visit the Selected Police Station Personally
Go to the police station identified in the confirmed appointment. Arrive early enough to locate the processing area, organize your documents, and follow security procedures.
Authorized personnel may verify your identity and documents, capture biometrics, review the application, conduct record verification, and process release of the clearance.
The official NPCS portal states that clearance applications require personal appearance. An online appointment therefore does not mean the entire process can be completed remotely.
What to Bring to Your PNP Clearance Appointment
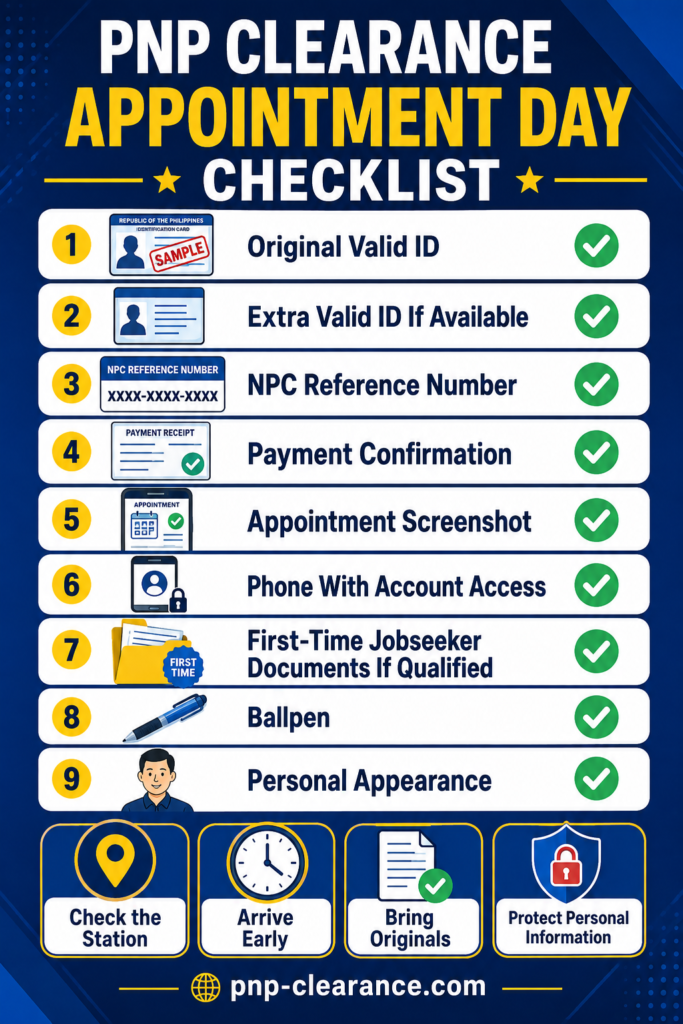
Prepare the following essential items:
- Original valid government-issued ID
- Confirmed appointment details
- NPC reference number
- Payment receipt or confirmation
- Personal appearance for verification and biometrics
Recommended backup items include:
- Second valid government-issued ID, if available
- Printed appointment confirmation
- Appointment screenshot
- Written copy of the reference number
- Fully charged phone with account and email access
- Ballpen and small document envelope
- Barangay certification and oath of undertaking if claiming the qualified first-time-jobseeker benefit
Accepted IDs and station-specific verification practices may change. Confirm with the selected station if you are unsure whether a particular identification document will be accepted.
Common PNP Clearance Appointment Problems
No Appointment Slots Are Available
Appointment availability depends on the station and date. Check other dates or another practical participating station displayed in the portal. Avoid paying anyone who promises to create or unlock a slot.
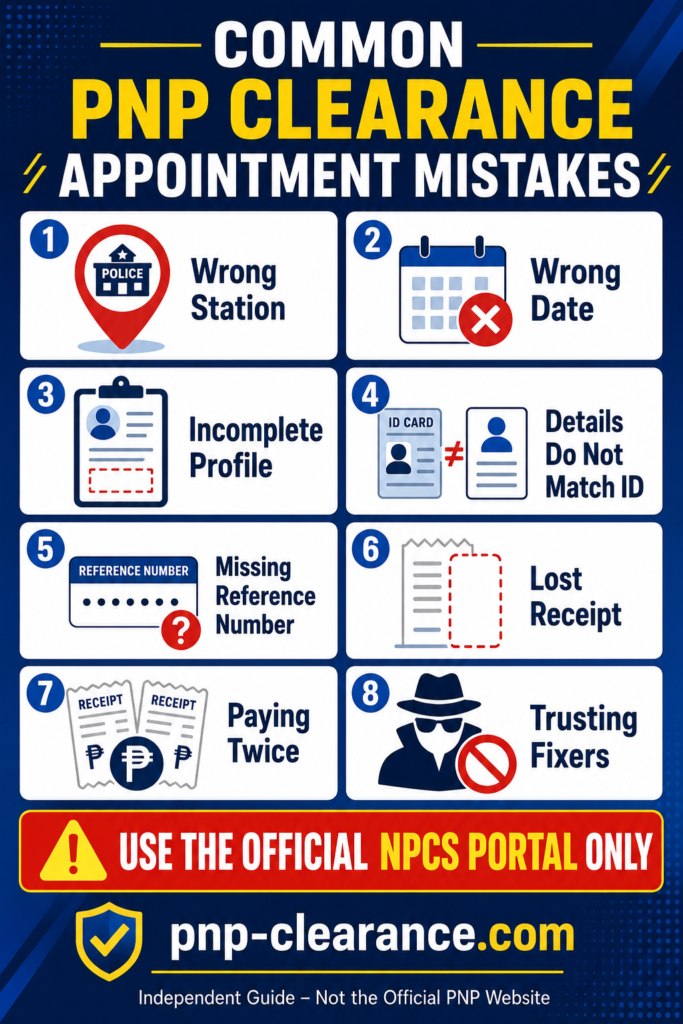
The Wrong Police Station Was Selected
Do not assume you can visit a different station. Review the transaction in your account and contact the selected station for guidance. If a new appointment is required, follow official instructions before making another payment.
The Appointment Date Is Incorrect
Review whether the portal provides a legitimate rescheduling or cancellation option. If none is available, contact the selected station. Do not edit a screenshot to show a different date.
Applicant Details Do Not Match the ID
Correct available profile fields before confirming an appointment. If a critical field cannot be edited, ask authorized station personnel what supporting document or correction process is required.
The Reference Number Was Lost
Sign in to your NPCS account and review available transaction or application information. Also check saved screenshots, email, browser downloads, and payment records. Do not post your private details publicly while requesting help.
Payment Was Made but the Status Did Not Update
Check the receipt, reference number, amount, and payment status first. Avoid immediately paying again. Contact the authorized payment provider or station when the issue remains unresolved.
The Website Is Slow or Unavailable
Try again later using a stable connection and an updated browser. Avoid repeatedly submitting the same transaction. Planned maintenance, high traffic, or a temporary technical issue may affect availability.
Safety Tips When Booking Online
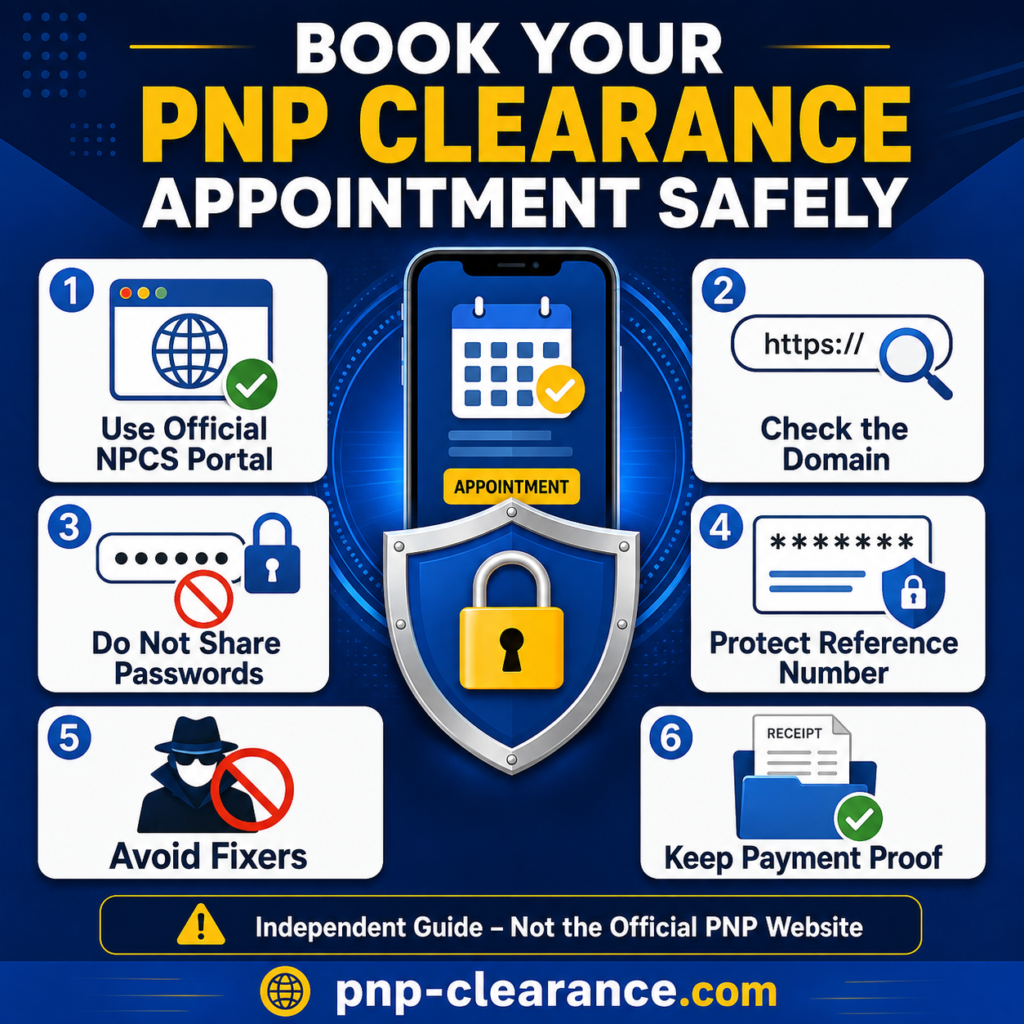
- Use only the official NPCS portal for the actual application.
- Check the domain before entering personal information.
- Do not share your NPCS or email password.
- Never disclose one-time codes or password-reset links.
- Avoid fixers and unofficial appointment sellers.
- Do not publish your reference number or ID photograph.
- Mask personal data before requesting legitimate technical support.
- Keep payment receipts until the clearance is processed and released.
- Sign out when using a shared computer.
- Contact the station or authorized provider when instructions are unclear.
PNP-Clearance.com provides educational guidance only and does not accept NPCS passwords, valid IDs, appointment payments, or biometric information.
Frequently Asked Questions
Final PNP Clearance Appointment Checklist
Before completing your booking, confirm that you have:
- Used the official NPCS portal
- Signed in to the correct account
- Completed your profile accurately
- Matched your profile with your valid ID
- Selected the correct police station
- Chosen a date you can attend
- Reviewed the full appointment details
- Saved the NPC reference number
- Followed the authorized payment instructions
- Kept the payment confirmation
- Prepared the original valid ID
- Planned to appear personally for biometrics
- Avoided fixers and unofficial application websites
Setting a PNP Clearance appointment online is easier when your account, profile, station choice, schedule, and documents are prepared in advance. Save every important transaction detail and confirm current instructions before paying or traveling.
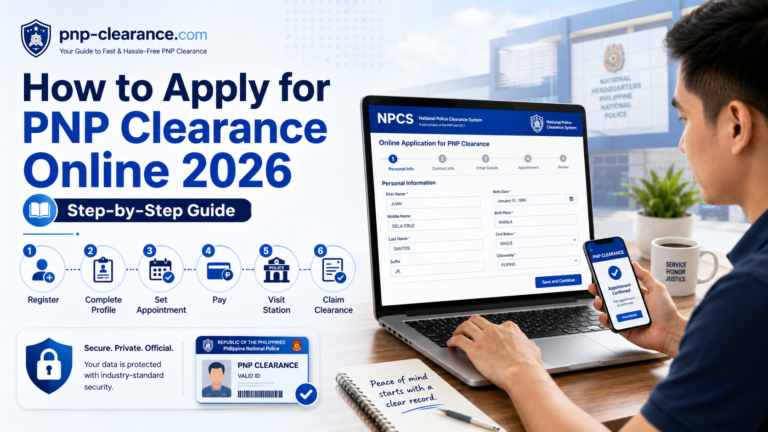
For the complete process beyond appointment scheduling, read our guide on how to apply for PNP Clearance online.
Last reviewed: August 15, 2026
Reviewed by: PNP-Clearance.com Editorial Team
Editorial note: This article was reviewed using the official National Police Clearance System portal and the official NPCS application tutorial. Portal labels, station availability, schedules, payment methods, fees, and local procedures can change. Readers should verify current instructions through the official portal and their selected police station.