
Applying for PNP Clearance Online is now easier because applicants can use the National Police Clearance System, also known as NPCS, to register, set an appointment, and prepare their police clearance application before visiting a police station. The official NPCS portal describes the system as a fast, convenient, reliable nationwide platform for police clearance issuance.
For many Filipinos, PNP Clearance is one of the most common documents needed for job applications, business permit requirements, government transactions, local employment, personal records, and other verification purposes. Dati, maraming applicants ang diretso lang pumupunta sa police station. Ngayon, mas organized na ang process dahil may online registration, appointment scheduling, and payment preparation.
Pero importante itong malinaw: hindi ibig sabihin na 100% online ang buong process. Online ang registration and appointment, pero kailangan mo pa ring pumunta sa selected police station para sa identity verification, photo capture, fingerprint scan, digital signature, record checking, and release.
This guide from pnp-clearance.com explains everything in simple Taglish. Dito mo malalaman ang requirements, valid IDs, fee, registration, appointment, reference number, payment, station visit, biometrics, possible “hit,” common mistakes, FAQs, and practical tips para hindi ka pabalik-balik.
Important Disclaimer:
pnp-clearance.com is an independent information guide. It is not connected with, endorsed by, or operated by the Philippine National Police. This article is for educational and guide purposes only. Always verify final requirements, fees, payment details, and appointment instructions through the official National Police Clearance System.
Quick Answer: How to Get PNP Clearance Online
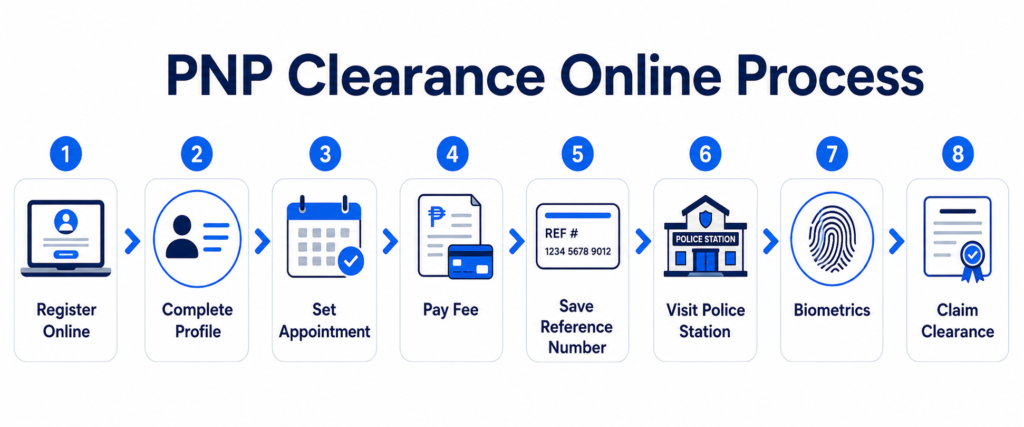
To get PNP Clearance Online, you need to register through the National Police Clearance System, complete your personal profile, choose a police station, set an appointment, pay the required fee, save your NPC reference number, and visit the selected police station for biometrics and verification.
The official PNP application guide result states that applicants should present one valid government-issued ID, proof of payment/payment confirmation, and the NPC appointment reference number at the police station. It also lists the clearance fee as ₱150, with possible convenience fee depending on the payment method.
Simple Process Overview
- Create an NPCS account.
- Complete your profile.
- Choose your police station.
- Select appointment date and time.
- Pay the clearance fee.
- Save your reference number.
- Visit the police station.
- Complete biometrics and verification.
- Claim your PNP Clearance.
If you want to skip the explanation and get a PNP Clearance now, just click the button below to get started.
What Is PNP Clearance?
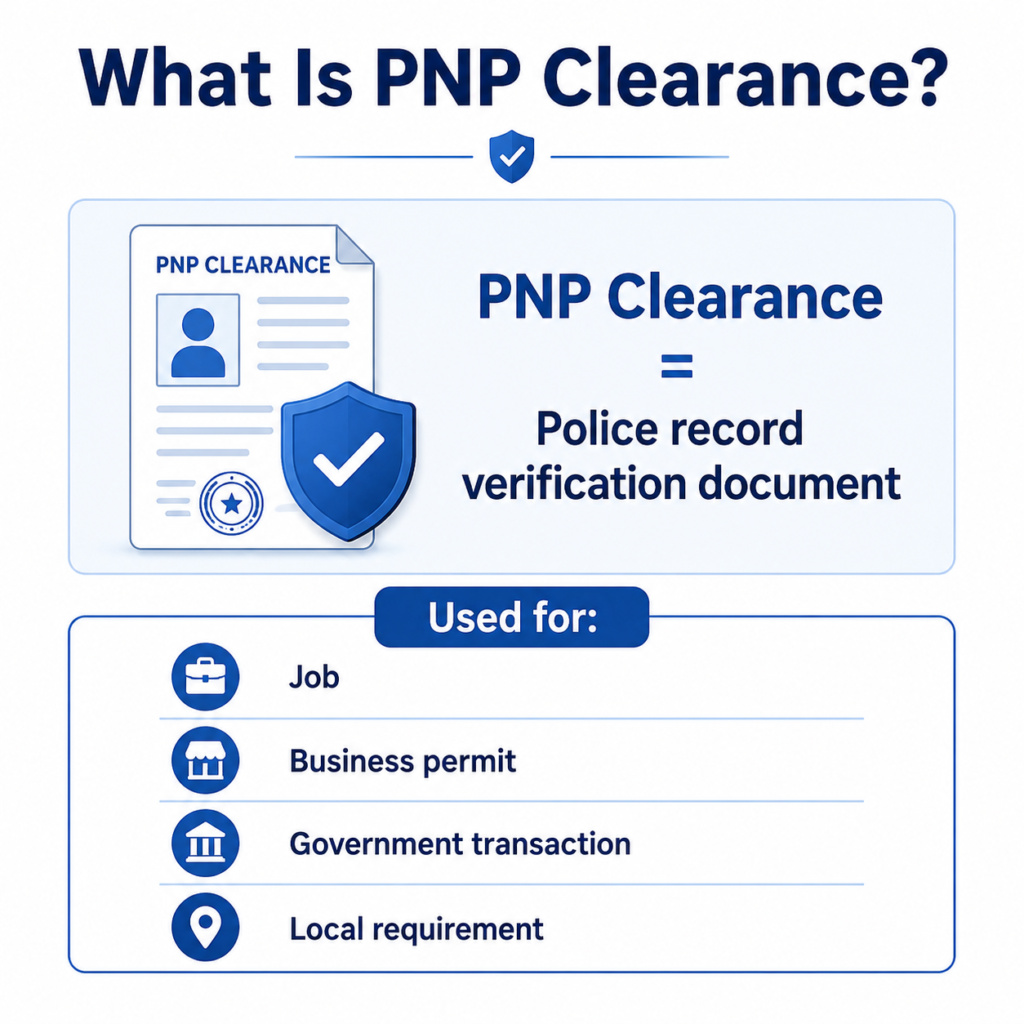
PNP Clearance, commonly called Police Clearance or National Police Clearance, is a document used to verify whether a person has a police record or derogatory record based on police records.
In simple words, it is a background-check document. Kapag humingi ang employer, agency, LGU office, or organization ng police clearance, usually gusto nilang makita kung may police record ba ang applicant.
Common Uses of PNP Clearance
PNP Clearance is commonly used for:
- Job application
- Local employment
- Business permit
- Government transaction
- Local background checking
- Personal record
- School or internship requirement, if requested
- Other local document requirements
PNP Clearance vs Police Clearance vs National Police Clearance
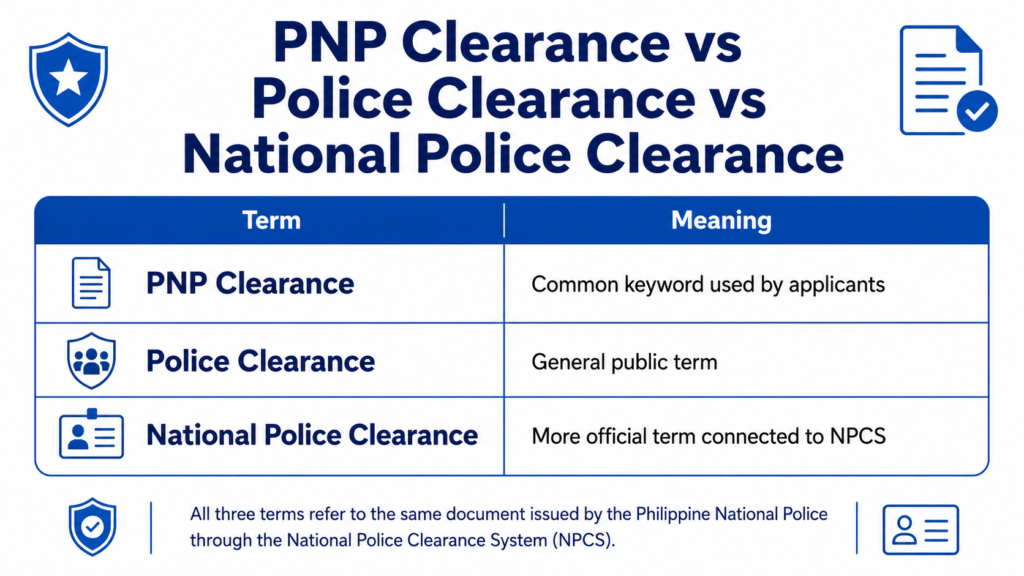
Maraming applicants ang nalilito dahil iba-iba ang ginagamit na term. May naghahanap ng PNP Clearance, may naghahanap ng Police Clearance Online, at may naghahanap naman ng National Police Clearance.
Ano ang Difference ng Terms?
PNP Clearance is the common keyword used by applicants online.
Police Clearance is the general public term.
National Police Clearance is the more official term connected to the NPCS process.
In most applicant searches, these terms point to the same general police clearance process through the online system.
Who Needs PNP Clearance?
You may need PNP Clearance if an employer, office, agency, school, or institution asks for proof that you have no police record or pending police-related concern.
Hindi lahat ng transaction ay kailangan ng PNP Clearance. Pero dahil common ito sa local employment and government-related requirements, maraming applicants ang kumukuha nito before job hunting.
Job Applicants
Many companies request police clearance as part of pre-employment requirements. Kung naghahanap ka ng trabaho, especially local employment, possible na kasama ito sa checklist ng HR.
Fresh Graduates
Fresh graduates may need PNP Clearance for their first job application. Usually kasama ito sa requirements like resume, valid ID, medical, SSS, PhilHealth, Pag-IBIG, and TIN.
Business Owners
Some business-related transactions may require police clearance depending on the office or local requirement. Always check with the requesting office first.
Government Transaction Applicants
Some government offices may ask for police clearance depending on the nature of the transaction. Hindi lahat pareho ang requirement, kaya dapat tanungin muna ang exact checklist.
Personal Use
Some people get PNP Clearance in advance para ready sila kapag may biglang opportunity. This is useful, but make sure your clearance is still valid when you submit it.
PNP Clearance Requirements 2026
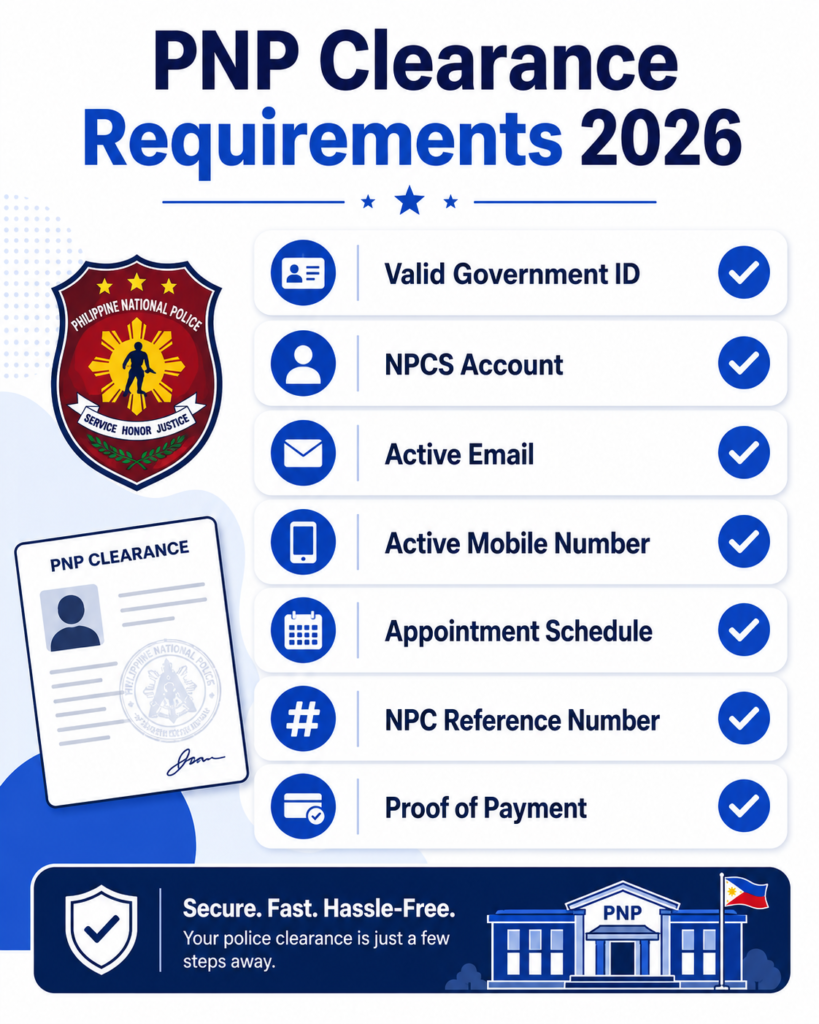
Before applying online, prepare your requirements first. Based on the official PNP application guide result, applicants need to present one valid government-issued ID, proof of payment/payment confirmation, and the NPC appointment reference number during the police station visit.
Basic Requirements
Prepare the following:
- Valid government-issued ID
- NPCS account
- Active email address
- Active mobile number
- Appointment schedule
- NPC reference number
- Proof of payment or payment confirmation
Important Requirement Reminder
Bring the original valid ID. Huwag umasa sa photocopy lang. A photocopy can be useful as backup, but the original ID is more important.
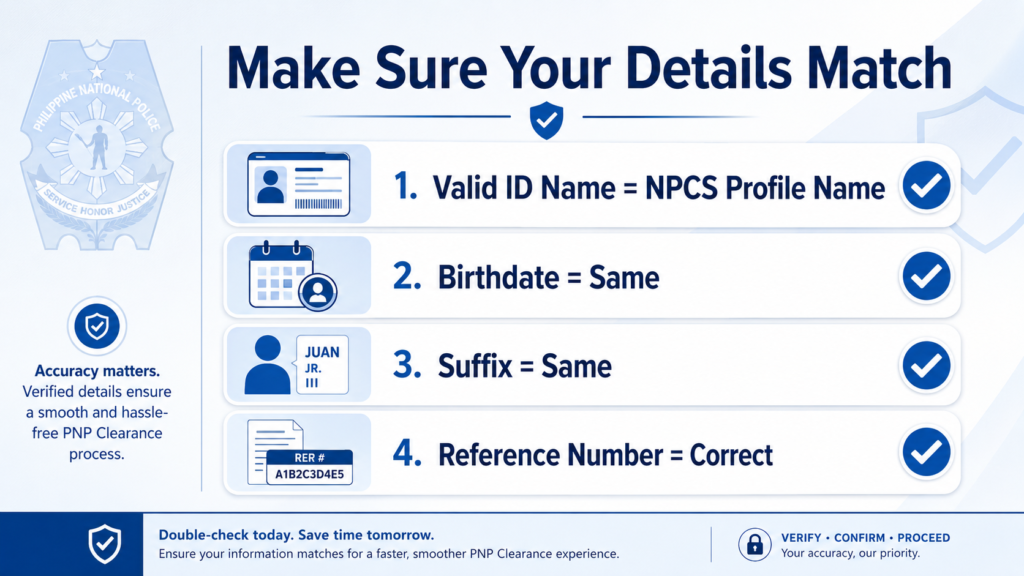
Also, make sure your online profile matches your ID. Kung may suffix ka like Jr., Sr., II, III, or IV, dapat pareho ang format sa valid ID and online account.
Example of Correct Name Matching
Correct:
Valid ID: Juan Santos Dela Cruz Jr.
NPCS Profile: Juan Santos Dela Cruz Jr.
Possible problem:
Valid ID: Juan Santos Dela Cruz Jr.
NPCS Profile: Juan Dela Cruz
Small differences can cause verification issues, especially if your name is common.
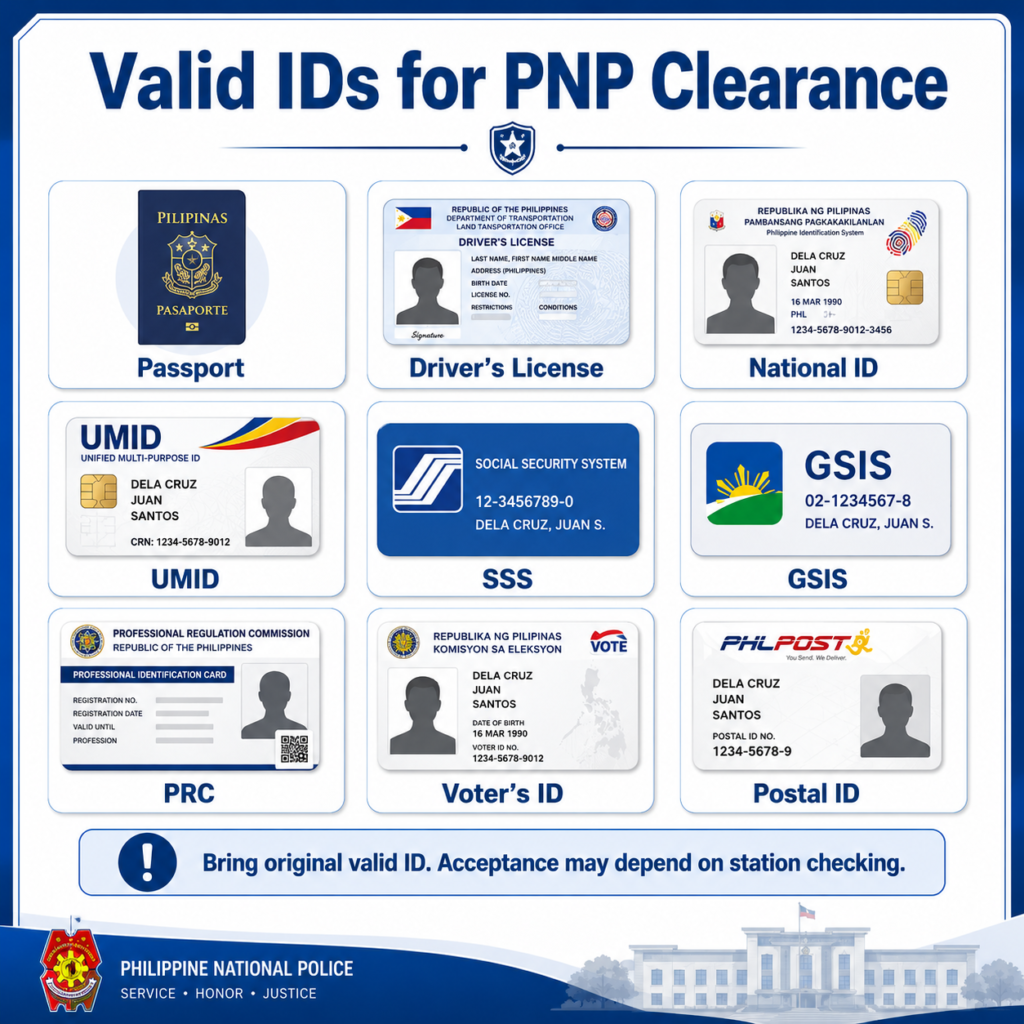
Accepted Valid IDs for PNP Clearance
The official PNP guide result mentions a valid government-issued ID as one of the items to present during processing.
Examples of Valid IDs Applicants Usually Prepare
Common IDs include:
- Passport
- Driver’s License
- PhilSys National ID
- UMID
- SSS ID
- GSIS ID
- PRC ID
- Voter’s ID
- Postal ID
- TIN ID, if accepted by the station
Practical ID Tips
Bring more than one valid ID if you have extra. Hindi masama ang prepared. If one ID has an issue, another valid ID may help.
Check These Details Before the Appointment
Before going to the police station, check:
- Full name spelling
- Middle name
- Suffix
- Birthdate
- ID expiration date
- Clear photo on ID
- Signature, if applicable
Kung expired ang ID, possible na hindi ito tanggapin. Prepare a valid and updated ID as much as possible.
How Much Is PNP Clearance Fee?
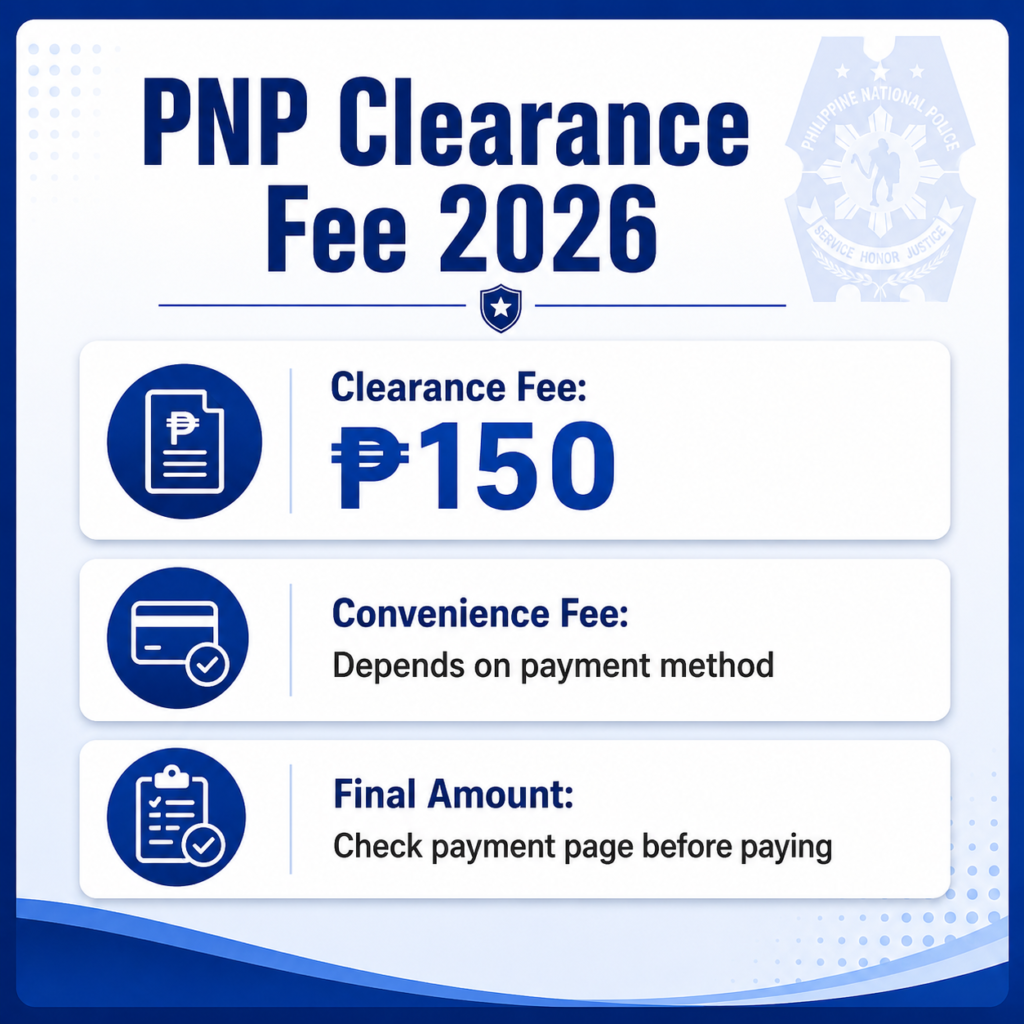
The official PNP application guide result lists the police clearance fee as ₱150, with possible convenience fee depending on the selected payment method.
PNP Clearance Fee Breakdown
Safe estimate:
₱150 clearance fee + convenience fee
Always check the exact amount shown on the official payment page before paying.
Payment Reminder
Do not rely on old screenshots, old Facebook posts, or unofficial fee tables. Convenience fees may vary depending on the payment channel.
Save Proof of Payment
After paying, always save:
- Screenshot of payment confirmation
- Transaction reference number
- Official receipt, if available
- Payment date and amount
- NPC reference number
Proof of payment/payment confirmation is listed in the official PNP guide result as one of the items applicants should present.
How to Apply for PNP Clearance Online
This is the full step-by-step process for applicants.
Step 1: Go to the Official National Police Clearance System
Start by visiting the official National Police Clearance System. The NPCS portal is the online platform for National Police Clearance application and appointment setting.
Be careful with fake websites or pages that ask for your personal information. Police clearance application involves sensitive information like your full name, birthday, contact number, address, and ID details.
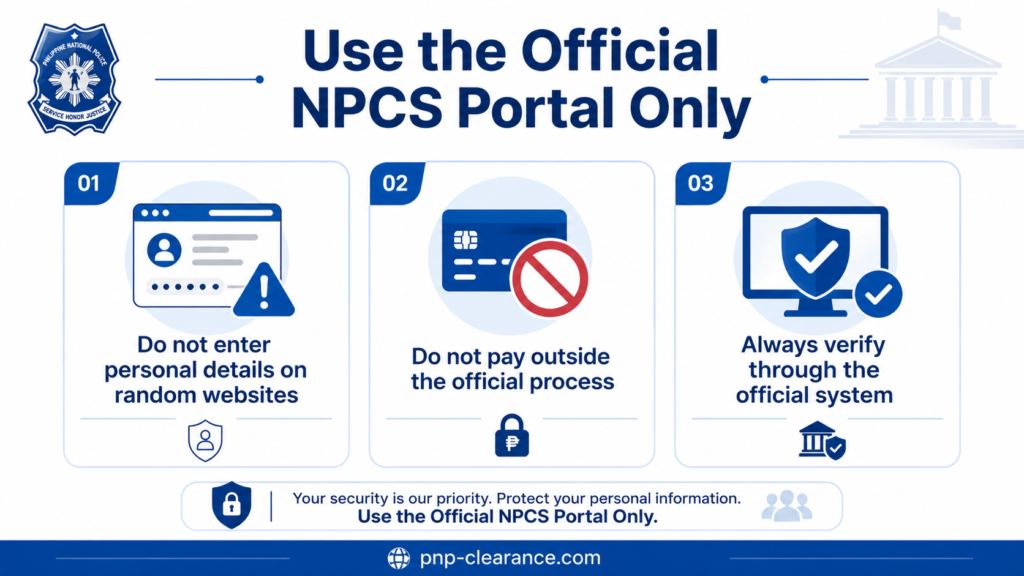
Reminder from pnp-clearance.com:
We provide guides and explanations only. For actual application, appointment, payment, and release instructions, always use the official National Police Clearance System.
Next is the registration, but if you already have an account in PNP Clearance, you can start the log in and complete the application or start your PNP Clearance Application.
Step 2: Register for an Account
If first time mo pa lang kumuha ng PNP Clearance Online, you need to create an account.
Usually, you need to provide:
- Full name
- Email address
- Mobile number
- Password
- Other personal details required by the system
Registration Tips
Use an email you can access anytime. Do not use temporary email. Do not use someone else’s email because you may need it for login, verification, or account recovery.
Save your login details securely. Many applicants have problems later because they forget the email or password they used.
If the want to register and it is your first time to get your Police clearance, read our article about PNP Clearance online for First-time Applicant.
Next is step 3, but if you want to skip this step, you can jump to choose your Police station to get where you can get your PNP Clearance.
Step 3: Log In and Complete Your Profile
After registration, log in and complete your personal profile. This is one of the most important steps because wrong information can cause delays.
Double-check:
- First name
- Middle name
- Last name
- Suffix
- Birthdate
- Birthplace
- Gender
- Civil status
- Complete address
- Mobile number
- Email address
If you have a trouble logging in to your account, read our article about How to login to your PNP Clearance Online Account.
Common Profile Mistakes
Avoid these mistakes:
- Missing middle name
- Wrong birthday
- Wrong suffix
- Nickname instead of legal name
- Abbreviated name not matching ID
- Wrong address
- Wrong mobile number
If your ID says Maria Lourdes Santos Reyes, avoid typing Maria L. Reyes unless the system format specifically allows it.
After completing these step, you can now start the step 4. But if you already did the step 4 you can jump and see the Select Your Appointment Date and Time
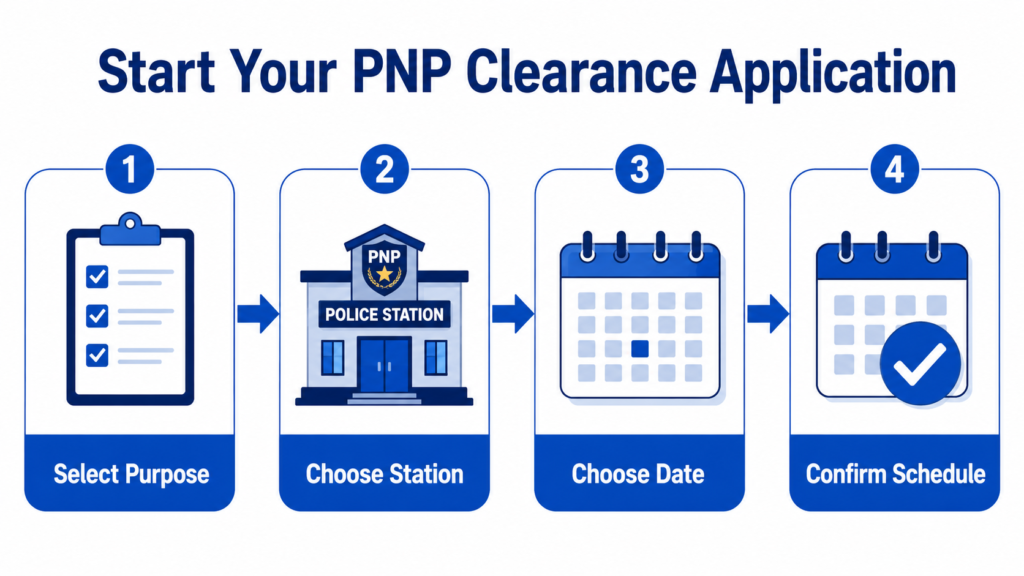
Step 4: Start Your Clearance Application
Once your profile is complete, proceed to the clearance application section.
You may need to select:
- Purpose of clearance
- Police station
- Appointment date
- Appointment time
Choose the Correct Purpose
Choose the purpose closest to your actual need. If the clearance is for employment, select the employment-related option if available. If it is for business, local requirement, or government transaction, choose the closest matching purpose shown in the system.
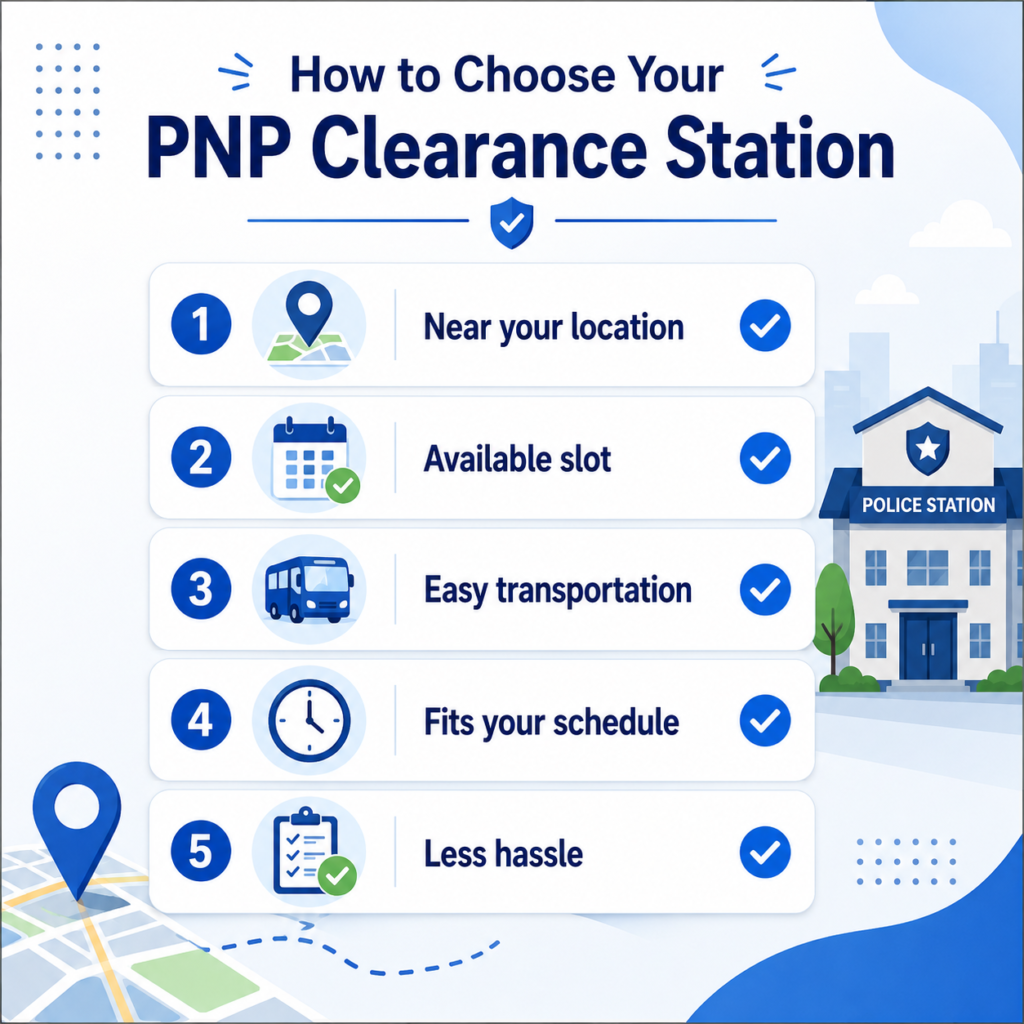
Step 5: Choose Your Police Station
Choose the police station where you want to complete your application. This is where you will go for verification, biometrics, photo capture, and release.
Consider these when choosing a station:
- Distance from your home or workplace
- Transportation cost
- Available appointment slots
- Queue level
- Schedule convenience
- Accessibility
Practical Tip
If your nearest station has no available slot, check nearby stations. But do not choose a far station unless you are sure you can go there on your appointment date.
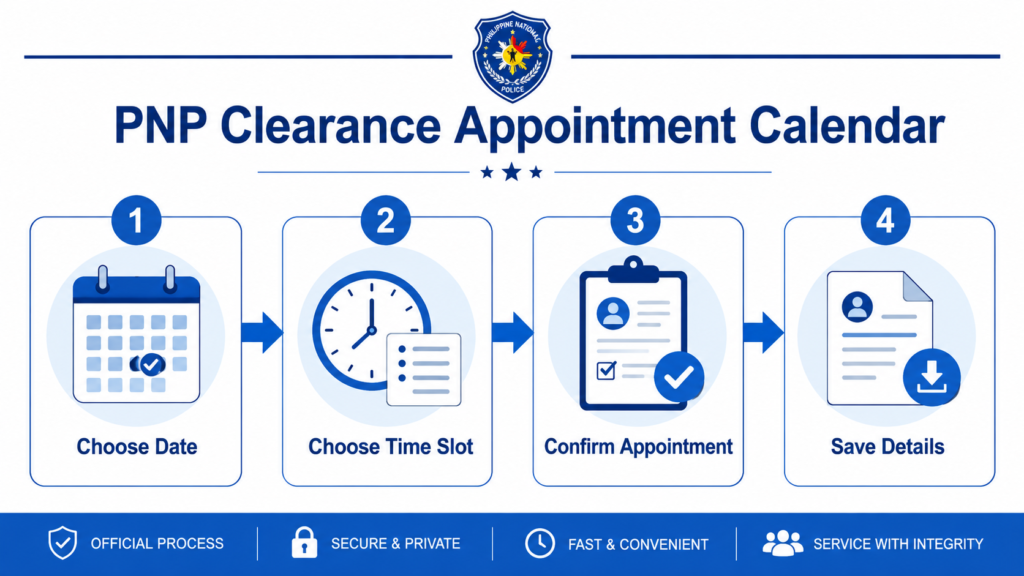
Step 6: Select Your Appointment Date and Time
After choosing your station, select your appointment date and time. Pick a schedule that you can actually attend.
Do not book only because it is the earliest available slot. Mas okay ang realistic schedule kaysa ma-miss mo ang appointment.
Practical Tip
If available, choose a morning schedule. Morning appointments may give you more time to fix small issues like missing photocopy, payment status delay, or profile-related questions.
Arrive 15 to 30 minutes earlier than your schedule.
Ready to schedule your visit? Learn how to set a PNP Clearance appointment online through the National Police Clearance System. This step-by-step guide explains how to choose the correct police station, select an available appointment date, review your applicant details, save your NPC reference number, and prepare for payment and personal appearance.
Step 7: Save Your NPC Reference Number
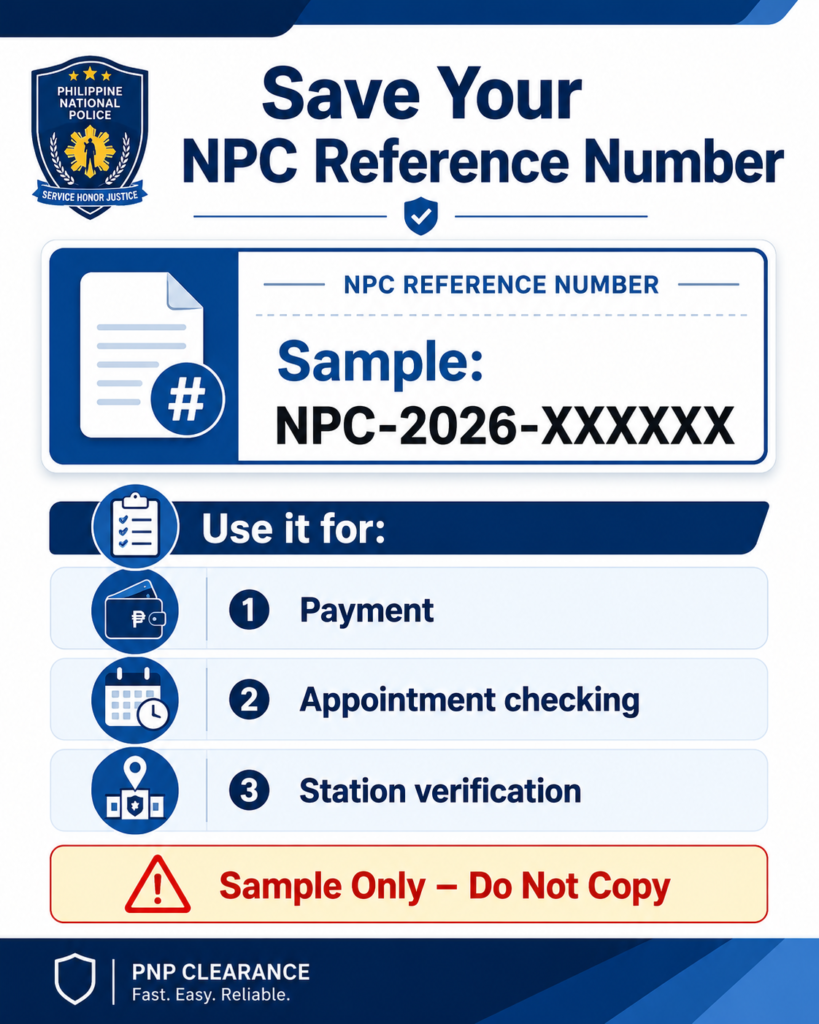
After setting your appointment, the system will show or generate your NPC appointment reference number. This is very important.
The official PNP guide result includes the Reference Number of NPC Appointment as one of the items applicants must present at the police station.
Save your reference number by:
- Taking a screenshot
- Writing it down
- Printing the appointment page
- Saving it in your phone notes
- Sending it to your own email
Why the Reference Number Matters
Your reference number connects your application, appointment, and payment. If you lose it, you may have difficulty checking your transaction or proving your appointment details.
Step 8: Pay the PNP Clearance Fee
After setting your appointment, follow the payment instructions shown in the official system. Payment options may vary depending on what is available during your application.
The official PNP application guide result lists the fee as ₱150, with convenience fee depending on the payment method.
After payment, make sure to:
- Save your receipt
- Screenshot your confirmation
- Check the payment status
- Keep your reference number
- Bring proof of payment on appointment day
If Payment Status Is Delayed
If payment is successful but your status is not reflected immediately, do not panic. Save your proof first. Do not pay again right away unless the official system clearly requires it.
Step 9: Prepare for Appointment Day
Before your appointment day, prepare everything. Huwag sa mismong araw pa maghanap ng ID, screenshot, or reference number.
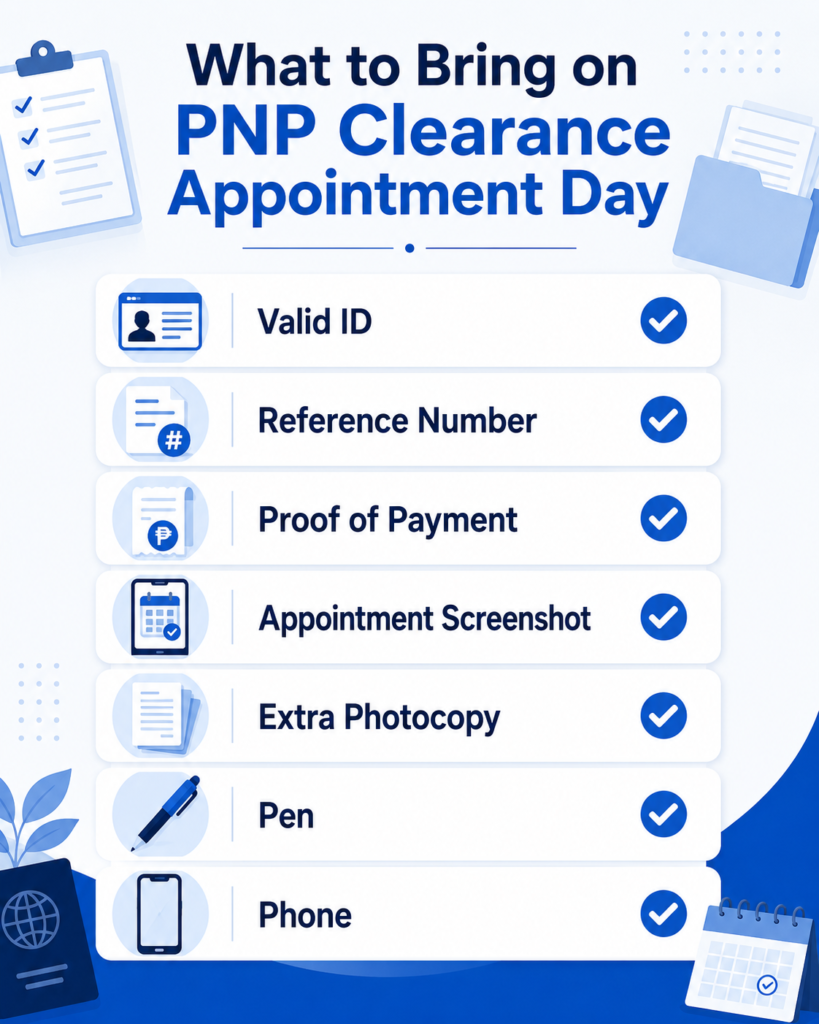
Bring:
- Valid government-issued ID
- NPC reference number
- Proof of payment/payment confirmation
- Appointment screenshot or printout
- Extra photocopy of ID, just in case
- Pen
- Phone with battery
- Small folder or envelope
Screenshot Everything
Screenshot your appointment details, payment confirmation, and reference number before leaving home. Do not depend only on mobile data because signal may be weak near or inside the station.
Step 10: Go to the Police Station
On your appointment date, go to the selected police station. Make sure it is the same station you selected online.
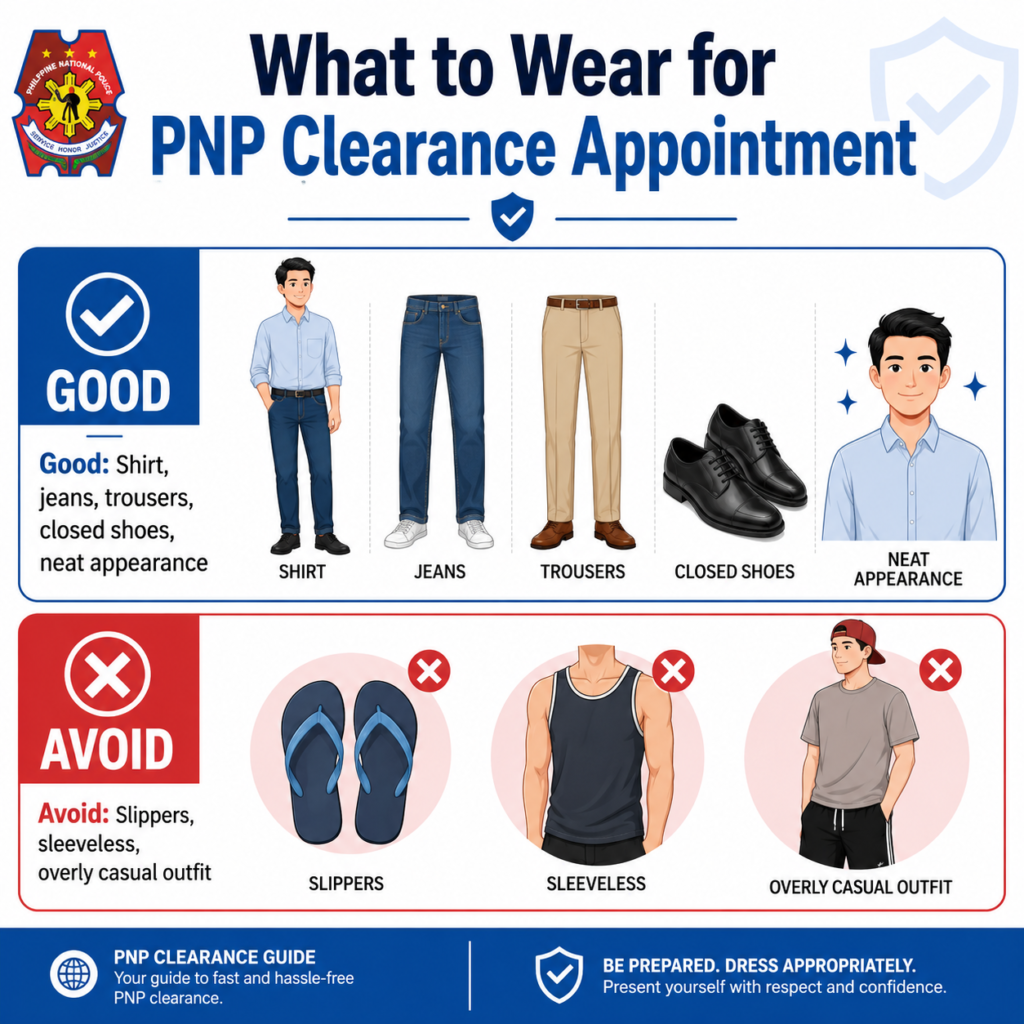
Wear proper clothing. Avoid slippers, sleeveless tops, and overly casual outfits. Your photo may be captured during the process, so present yourself properly.
Station Visit Tip
Follow the queue or instruction at the station. Some stations may have a verification desk, guard checkpoint, or number system. Be polite and ready to show your reference number and proof of payment.
Step 11: Identity Verification
The station personnel will verify your identity and application details. They may check your ID, reference number, and payment proof.
Make sure these details match:
- Name on valid ID
- Name on NPCS profile
- Birthdate
- Suffix
- Reference number
- Payment confirmation
If There Is a Mismatch
If there is a mismatch, ask politely what you need to correct or provide. Do not argue. Some issues can be fixed, while others may need guidance from the station or official system.
Step 12: Photo Capture, Fingerprint Scan, and Digital Signature
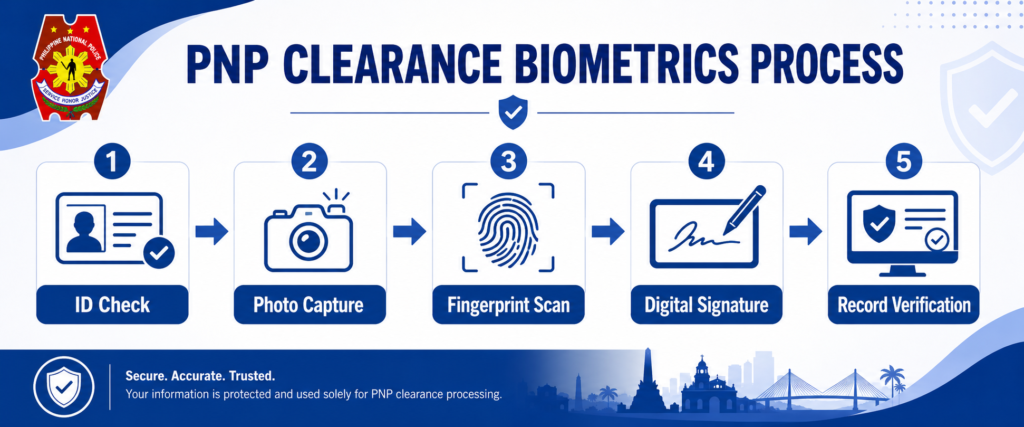
After identity verification, you may proceed to biometrics. This usually includes photo capture, fingerprint scan, and digital signature.
This is why proper clothing and clean hands matter. Fingerprint scanning may be affected if your fingers are wet, dirty, or oily.
Biometrics Tip
Follow the instruction of the personnel. If the fingerprint scanner cannot read properly, you may be asked to repeat the scan.
Step 13: Record Verification
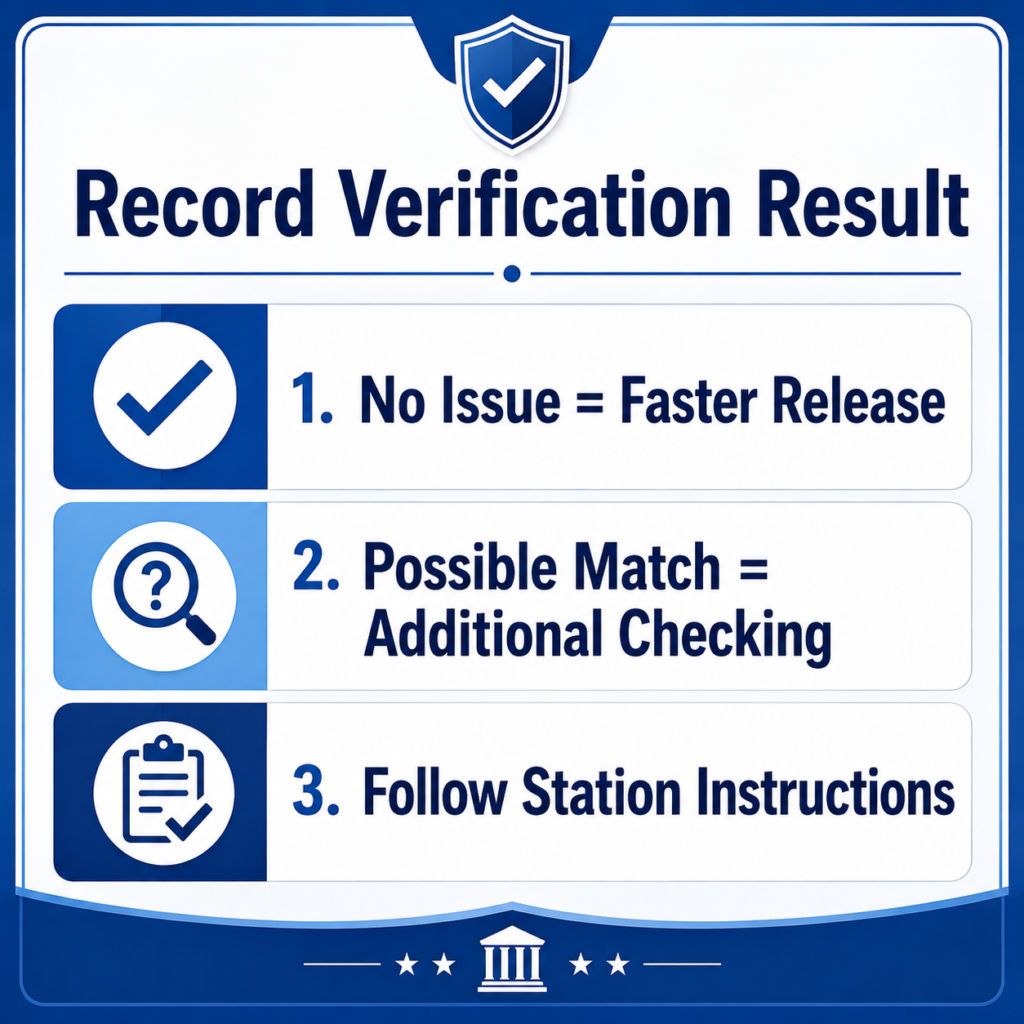
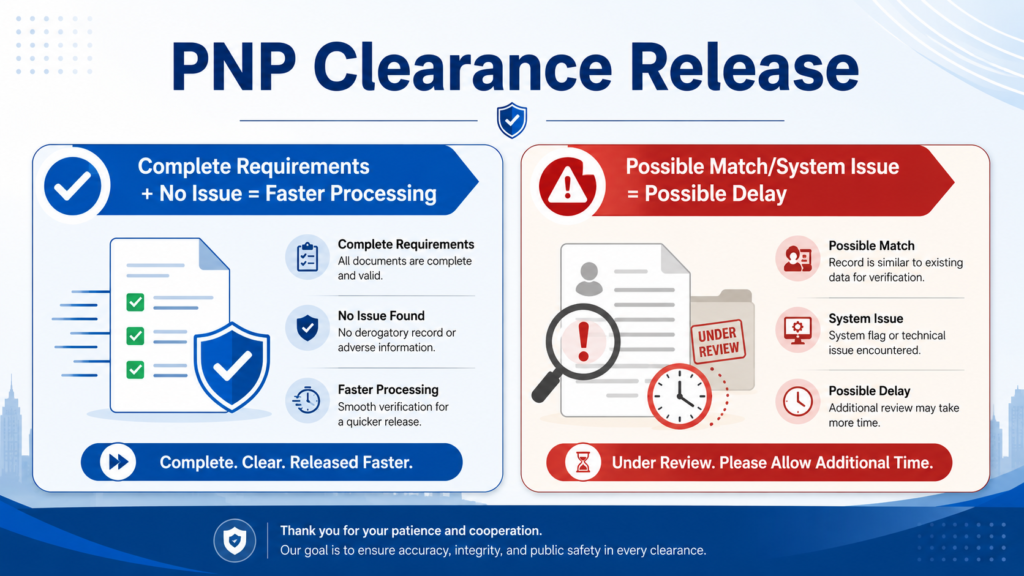
After biometrics, your record will be checked. If there is no issue, the process may be faster. If there is a possible match, additional verification may be needed.
A possible match may happen because of similar names, common names, or information that needs additional checking.
Step 14: Claim Your PNP Clearance
After successful verification, your PNP Clearance may be released depending on station process and record result.
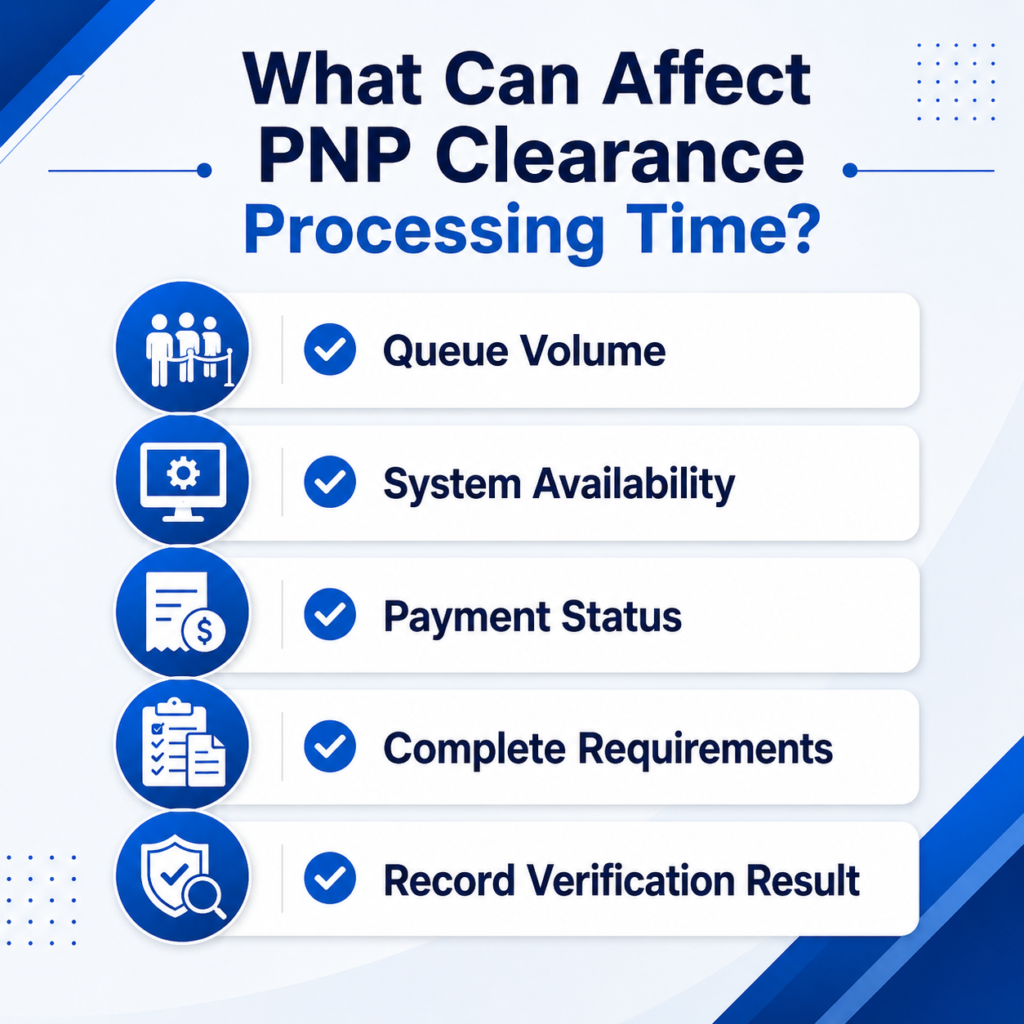
Release time may depend on:
- Queue volume
- System availability
- Payment confirmation
- Completeness of requirements
- Record verification result
- Station procedure
What If You Have a “Hit” or Record Match?
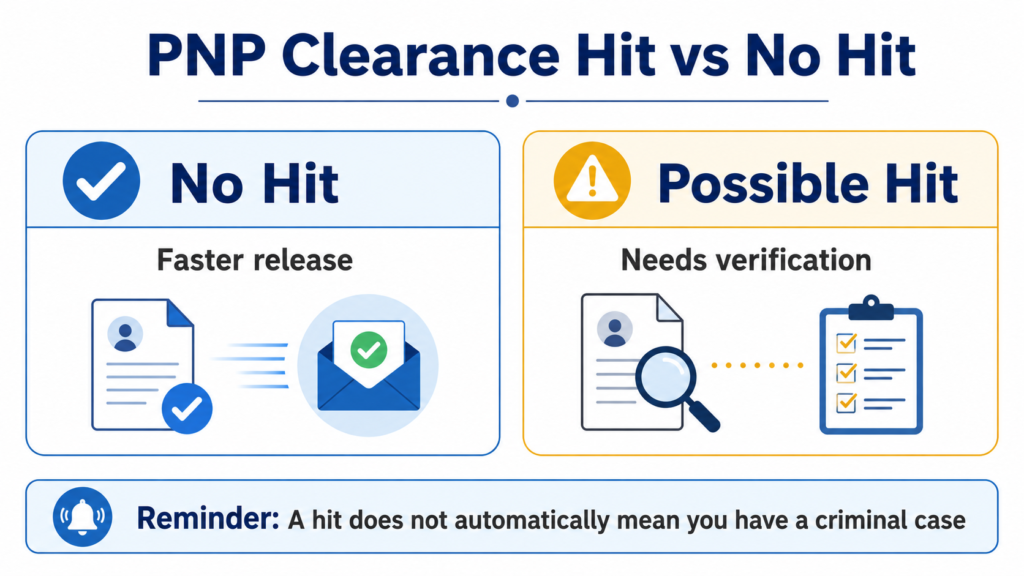
A “hit” or possible record match means the system may have found a similar name or record that needs further checking. It does not automatically mean you have a criminal case.
Why a Possible Hit Happens
Possible reasons include:
- Common name
- Similar name with another person
- Missing middle name
- Suffix issue
- Record needs additional verification
- Profile information needs checking
What to Do If You Have a Hit
Stay calm and ask the station personnel for the next step.
Possible instructions may include:
- Wait for further checking
- Return on another date
- Provide additional identity details
- Follow verification instructions
- Ask where and when to follow up
Tip for Applicants With Common Names
If your name is common, make sure your middle name, suffix, birthdate, and valid ID details are complete and accurate. These details help distinguish you from another person with a similar name.
Common Mistakes in PNP Clearance Application
Many delays happen because of small mistakes. Avoid these common problems.
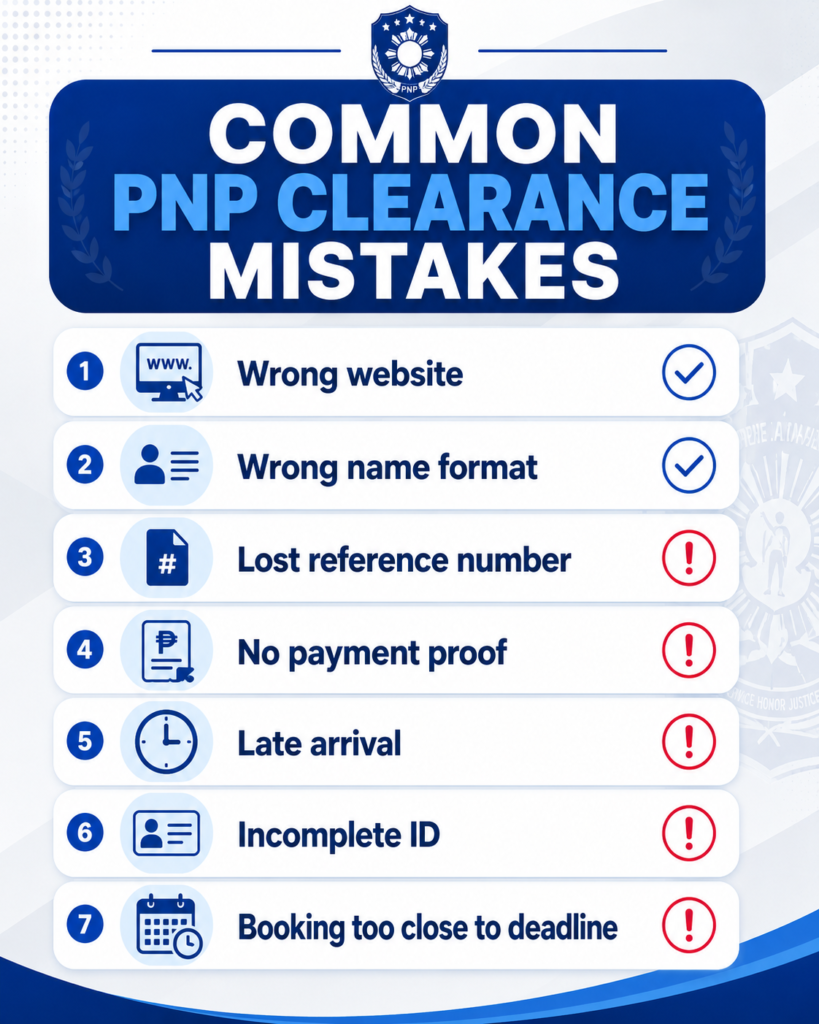
Mistake 1: Using the Wrong Website
Always use the official NPCS portal for actual application. pnp-clearance.com should clearly present itself as an independent guide only.
Mistake 2: Wrong Name Format
Your name should match your valid ID. Missing middle name, wrong spelling, or missing suffix may cause verification problems.
Mistake 3: Losing the Reference Number
Your NPC reference number is important for appointment, payment, and verification. Save it in multiple places.
Mistake 4: Not Saving Payment Proof
Always save your payment confirmation. Proof of payment/payment confirmation is included in the official PNP guide result as an item to present.
Mistake 5: Arriving Late
Arrive earlier than your schedule. Even with an appointment, there may still be a queue.
Mistake 6: Bringing Only Photocopy of ID
Bring your original valid ID. A photocopy is only a backup.
Mistake 7: Applying Too Close to Deadline
Do not apply on the same day your employer or office needs the document. Give yourself extra time for possible payment delay, website issue, or record verification.
PNP Clearance for Job Application
PNP Clearance is commonly used for local job applications. Many employers request it as part of pre-employment background checking.
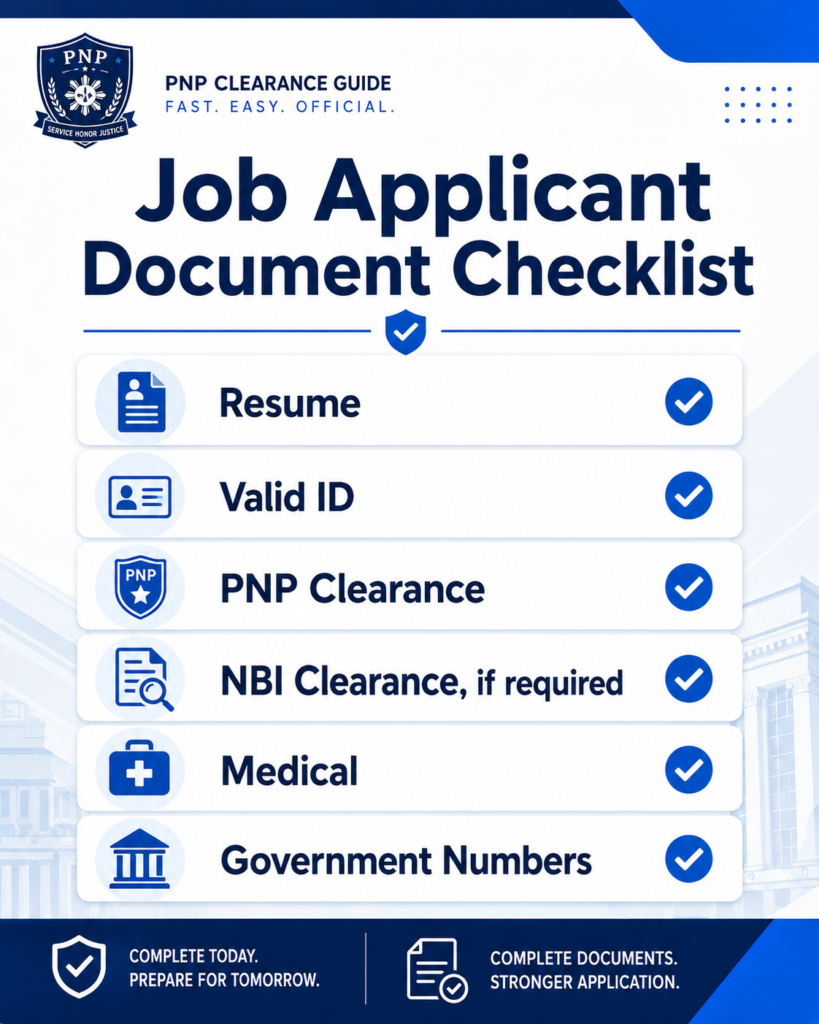
Common Job Application Documents
Applicants often prepare:
- Resume
- Valid IDs
- PNP Clearance
- NBI Clearance, if required
- Medical exam result
- SSS number
- PhilHealth number
- Pag-IBIG number
- TIN
Ask HR First
Before applying, ask your employer:
“Police Clearance po ba ang kailangan, or NBI Clearance?”
This simple question can save you time and money.
PNP Clearance vs NBI Clearance
PNP Clearance and NBI Clearance are different documents.
Main Difference
PNP Clearance is connected to police clearance checking.
NBI Clearance is issued through the National Bureau of Investigation. If you want to get an NBI Clearance, visit How to Get NBI Clearance Online to get one.
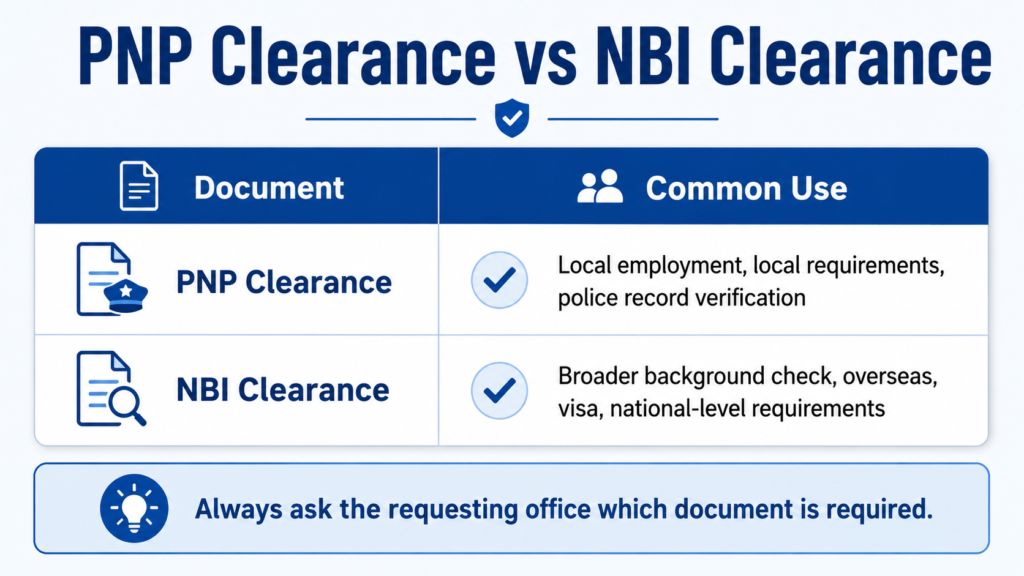
For local employment, PNP Clearance may be accepted if the employer allows it. For overseas employment, visa, immigration, board exams, or broader national-level requirements, NBI Clearance may be required depending on the requesting office.
Is PNP Clearance Valid for All Purposes?
No. PNP Clearance is useful, but it may not be accepted for every purpose.
Usually Accepted For
- Local job application
- Local background checking
- Some business permit requirements
- Some local government transactions
- Personal records
May Not Be Enough For
- Some overseas employment requirements
- Visa-related requirements
- Some national-level requirements
- Offices that specifically require NBI Clearance
Best Rule
Always follow the exact requirement given by the employer, agency, school, or office.
How Long Does PNP Clearance Processing Take?
Processing time can vary depending on the station, queue, system availability, payment status, and record verification result.
If your requirements are complete and there is no possible match, the process may be faster. If there is a payment issue, wrong information, system delay, or possible hit, it may take longer.
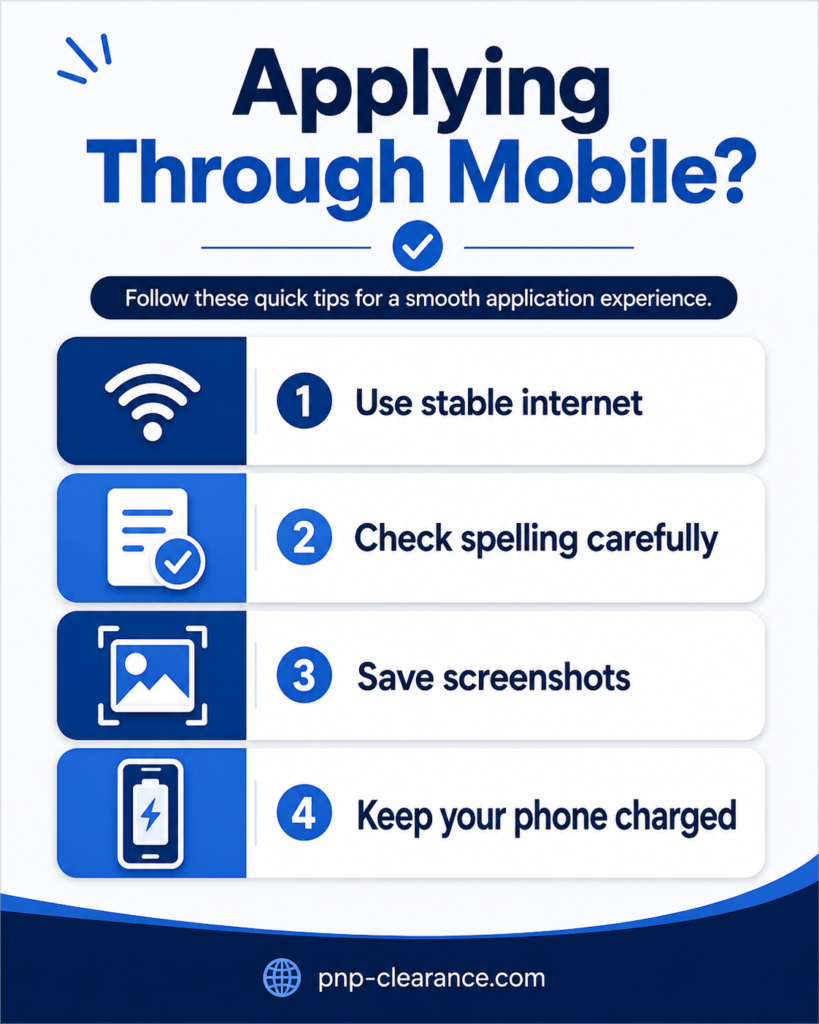
Can You Apply for PNP Clearance Using a Mobile Phone?
Yes. You can use a mobile phone to access the online system if you have a stable internet connection and a working browser.
Mobile Application Tips
- Use stable internet
- Prepare your email access
- Double-check spelling
- Screenshot reference number
- Save payment confirmation
- Keep your phone charged
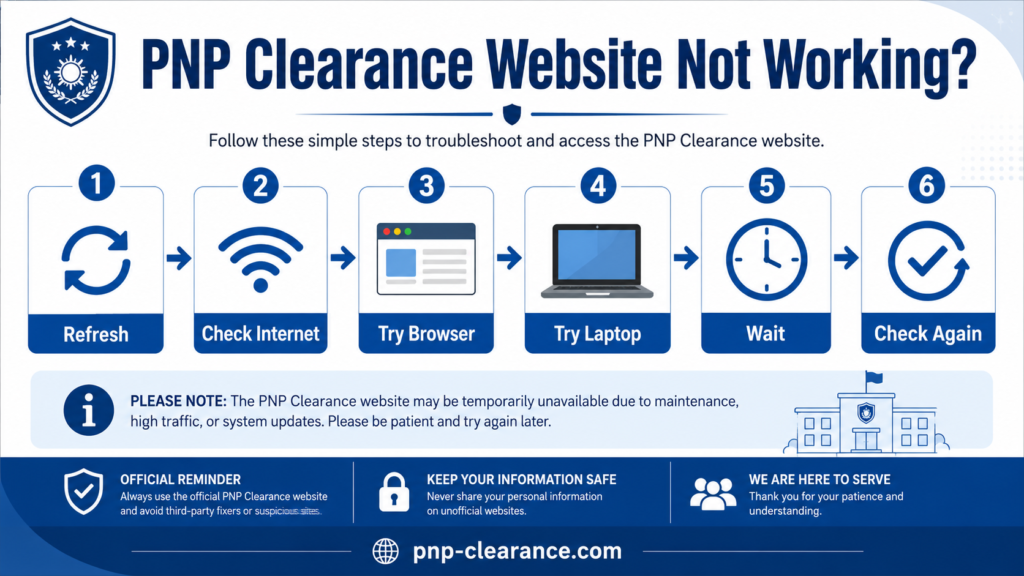
What to Do If the NPCS Website Is Not Working
Sometimes the website may load slowly, show errors, or become temporarily unavailable.
Try These First
- Refresh the page
- Check your internet connection
- Try another browser
- Clear browser cache
- Try using a laptop
- Wait and try again later
- Avoid repeated payment attempts
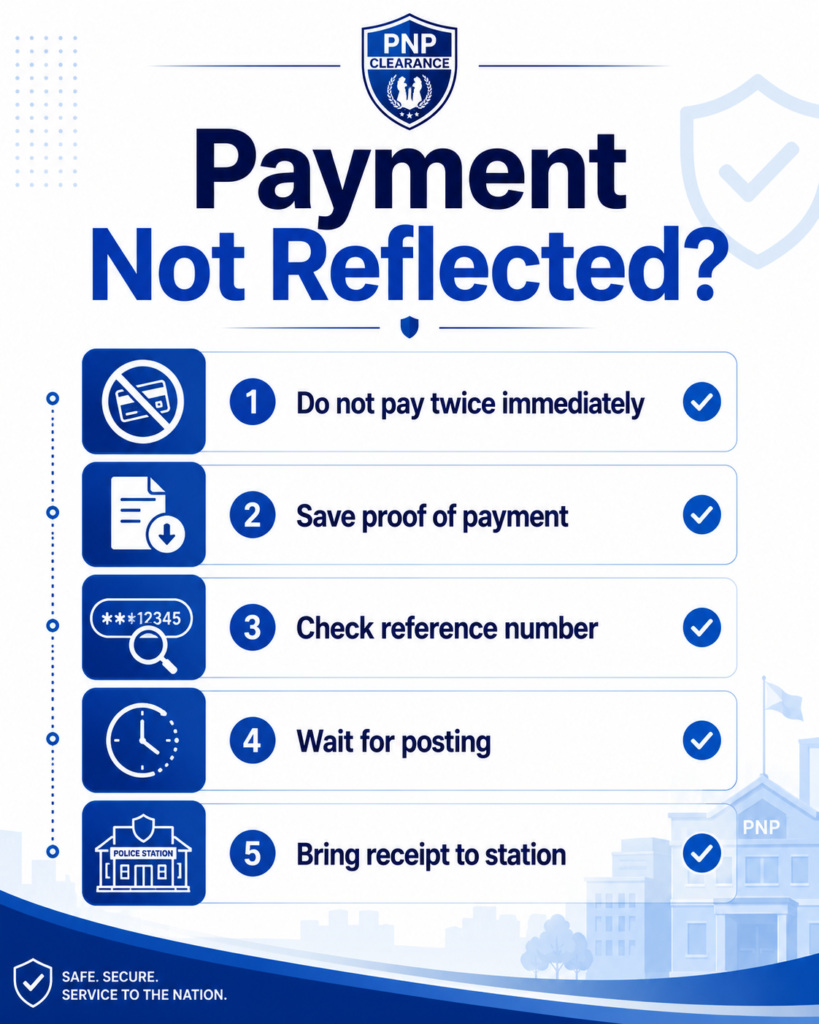
What to Do If Payment Is Not Reflected
If your payment is successful but your status is not reflected, stay calm. Payment posting may not always update instantly.
First Steps
- Save your receipt.
- Screenshot the transaction confirmation.
- Check your reference number.
- Wait for possible posting.
- Bring proof of payment to your appointment if needed.
What to Do If You Entered Wrong Information
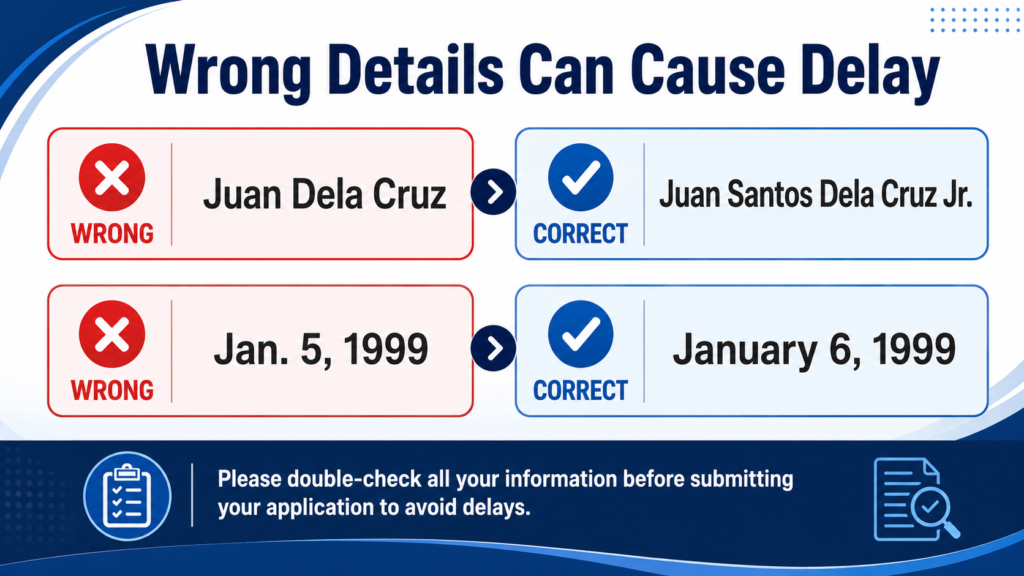
If you entered wrong information in your profile, check if the system allows editing before your appointment. If not, follow the instruction from the official system or ask the station for guidance.
Common Wrong Details
- Misspelled name
- Missing middle name
- Wrong birthdate
- Wrong suffix
- Wrong address
- Wrong gender or civil status
Safety Reminder: Avoid Fixers
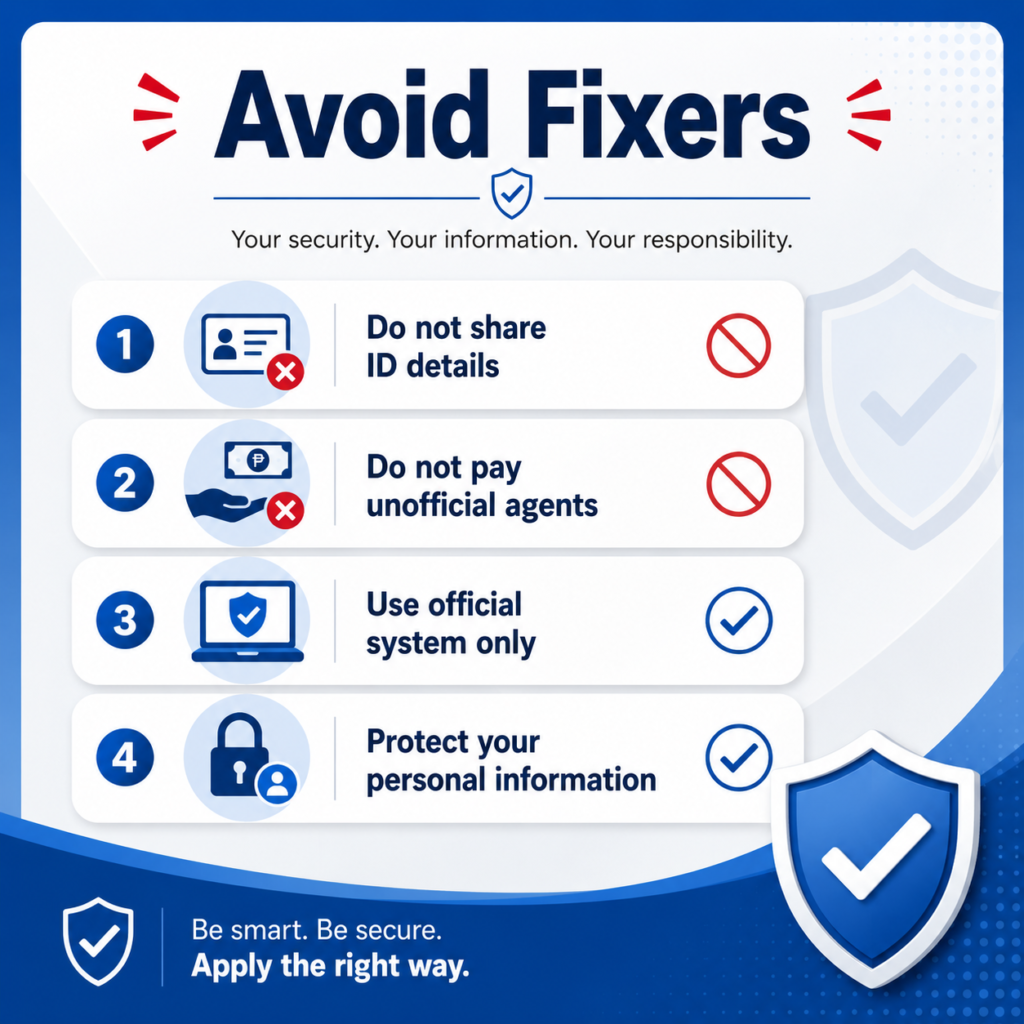
Do not pay fixers or people claiming they can process your PNP Clearance faster through unofficial methods.
Police clearance application involves personal information. Do not share your ID, birthday, address, reference number, or payment details with random people.
Independent Guide Notice
pnp-clearance.com is an independent guide website created to help Filipino applicants understand the PNP Clearance and National Police Clearance process. We are not affiliated with the Philippine National Police.
Accuracy Notice
We explain the process in simple terms and refer readers to the official National Police Clearance System for final application steps, payment, requirements, and appointment instructions.
Suggested Trust Box
Important Reminder:
This article is for guide purposes only. For actual application, final requirements, payment, appointment, and official updates, always check the official National Police Clearance System.
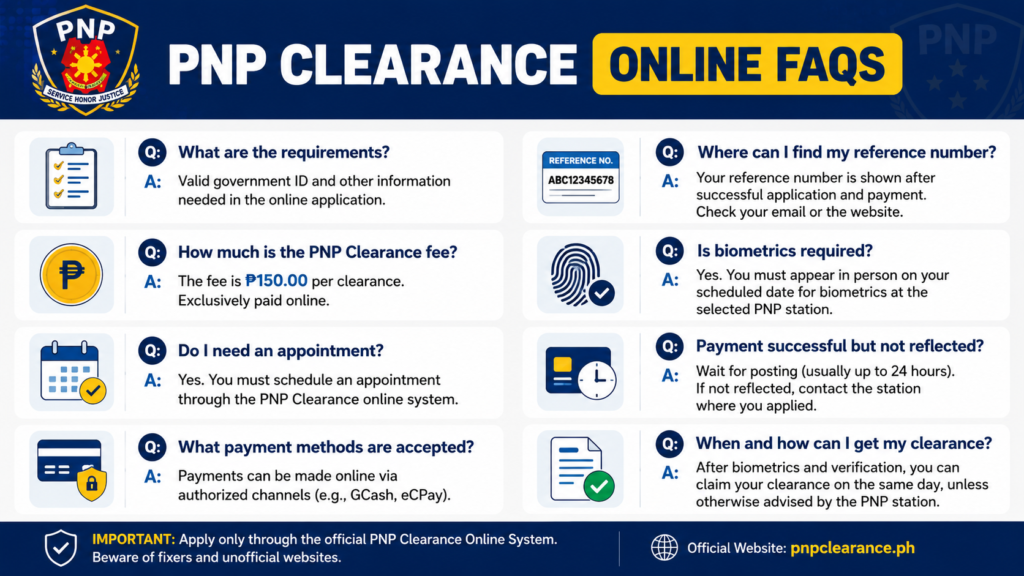
PNP Clearance Online FAQs
Conclusion
Getting your PNP Clearance Online is easier when you understand the full process before starting. The main steps are simple: register through the National Police Clearance System, complete your profile, choose a police station, set an appointment, pay the required fee, save your NPC reference number, and visit the selected police station for verification, biometrics, photo capture, and release.
The most important things to prepare are your valid government-issued ID, proof of payment or payment confirmation, and NPC appointment reference number, because these are listed in the official PNP guide result as items applicants should present during processing. The same official guide result lists the clearance fee as ₱150, with possible convenience fee depending on the payment method.
For a smoother experience, double-check your name, birthdate, suffix, address, selected police station, appointment schedule, payment details, and reference number. Save screenshots of everything important before going to the station.
Most importantly, remember that pnp-clearance.com is an independent guide, not the official PNP website. Use this article to prepare and understand the process, but always verify final details through the official National Police Clearance System.
Final tip:
Do not wait until your deadline. Apply early, prepare your requirements, and give yourself enough time in case of system delay, payment issue, wrong information, or possible record match.
Leave a Reply