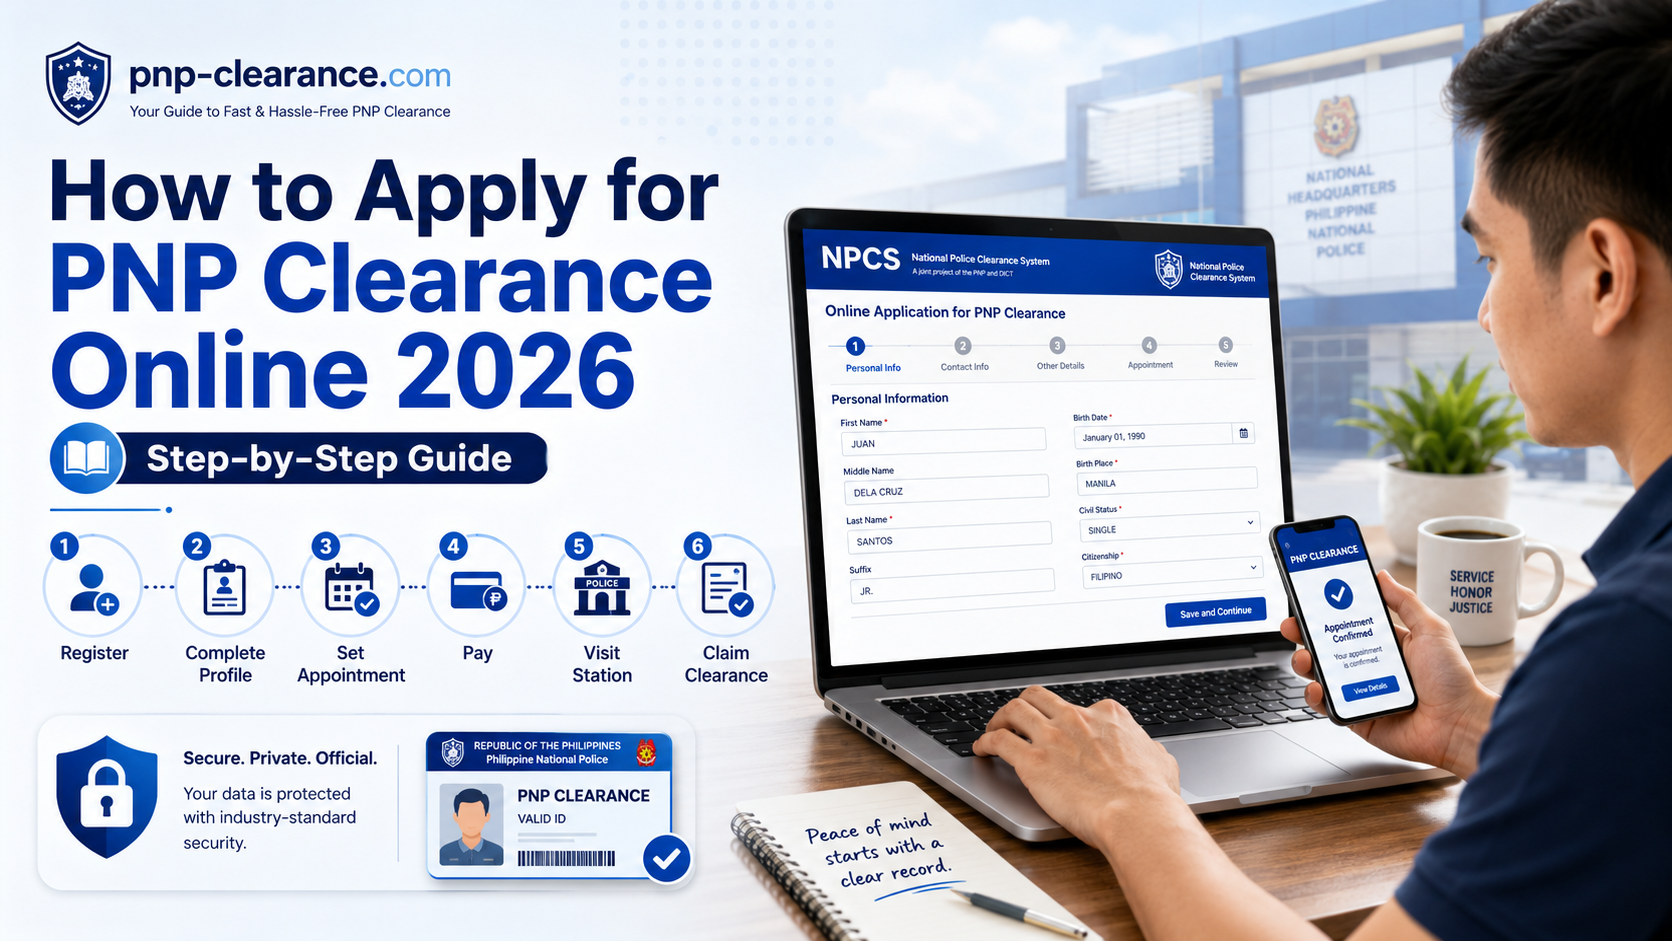
How to Apply for PNP Clearance Online: Step-by-Step Guide 2026
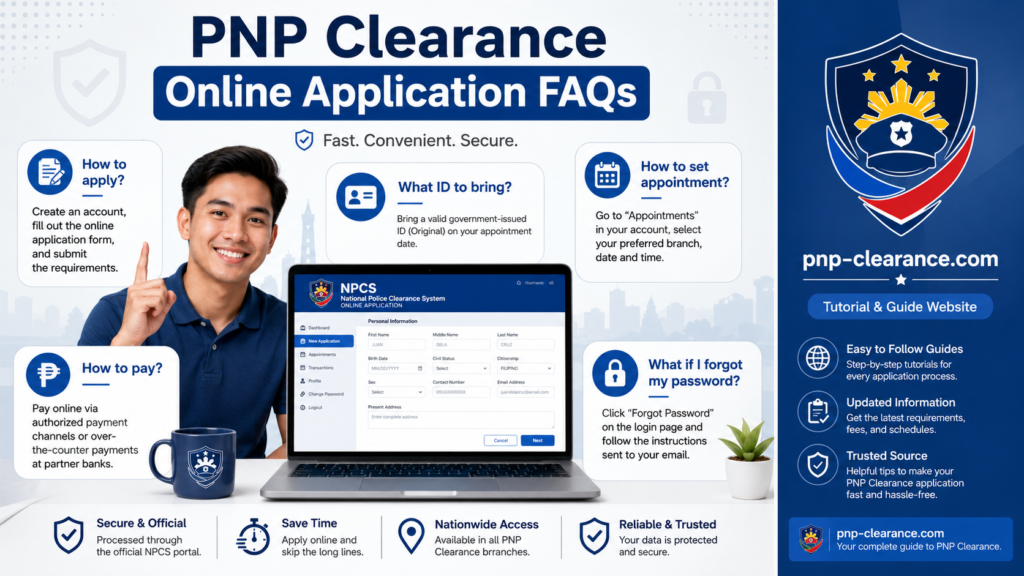
Applying for a PNP Clearance is now easier because you can start the process online through the National Police Clearance System, also known as NPCS. Instead of going directly to a police station without preparation, you can create or log in to your account, complete your applicant profile, choose a police station, set an appointment, follow the payment instructions, and visit the selected police station when required.
This guide is written for beginners who want to understand how to apply for PNP Clearance online without confusion. If first time mo pa lang kumuha ng PNP Clearance, this tutorial will guide you step by step from account preparation up to the important reminders before visiting the police station.
For the complete overview of the full process, read our main guide here: PNP Clearance Online 2026 Complete Guide
What Is PNP Clearance Online?
PNP Clearance Online is the online application process for National Police Clearance through the official NPCS portal. It helps applicants start the process online before completing the required verification steps.
The official National Police Clearance System portal provides Register/Login access and clearance application tutorial materials for applicants.
In simple terms, hindi ibig sabihin na lahat ng process ay online from start to finish. The online part usually includes account registration, profile completion, appointment setting, and payment instructions. However, applicants may still need to follow the instructions shown in their NPCS account and visit the selected police station when required for verification, photo, fingerprint capture, or release.
Quick Overview of the PNP Clearance Online Process

Here is the beginner-friendly process:
- Visit the official NPCS portal.
- Register or log in to your NPCS account.
- Complete your applicant profile.
- Start the clearance application.
- Choose your preferred police station.
- Set your appointment date and time.
- Follow the payment instructions shown in the system.
- Save your reference number and payment proof.
- Visit the selected police station if required.
- Complete verification, photo, and fingerprint capture if required.
- Wait for processing and claim or download your clearance based on the system instruction.
The official NPCS “How to Apply” tutorial includes account registration for first-time applicants and instructs users to visit pnpclearance.ph to access the system.
Before You Apply for PNP Clearance Online
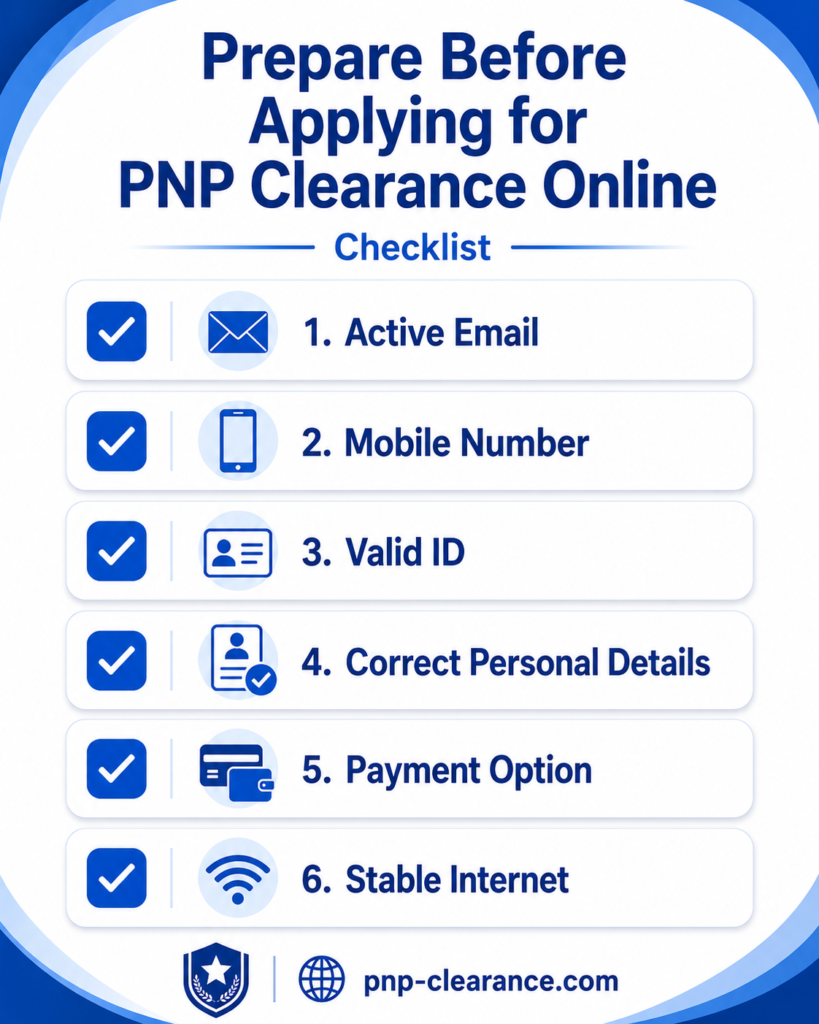
Before starting your application, prepare your information first. This helps you avoid errors, rejected details, payment confusion, or appointment problems.
Prepare an Active Email Address
Use your own active email address. Your email may be used for your NPCS account, password reset, application access, and account notifications.
Do not use a temporary email, old email, or another person’s email. If you lose access to that email, you may also have difficulty recovering your NPCS account.
Email Tip for Beginners
Before registering, open your email account first and make sure you know the password. This is helpful in case the system sends a verification or reset instruction.
Prepare Your Active Mobile Number
Use your own mobile number. Make sure it is still active and correctly typed before submitting your details.
A wrong mobile number can cause problems if the system or station needs to contact you.
Prepare Correct Personal Information
Prepare your correct:
- Full name
- Birthdate
- Birthplace
- Address
- Civil status
- Gender
- Email address
- Mobile number
Use the same details shown on your valid ID. Avoid nicknames, shortcuts, or incomplete names.
Example of Correct Name Format
If your valid ID shows Juan Miguel Santos Dela Cruz, do not enter JM Dela Cruz. Use your full legal name as much as possible.
Prepare a Valid Government-Issued ID
You need a valid ID for verification. The NPCS tutorial materials mention presenting a valid government-issued ID together with the required transaction details when applicable.
For the complete list of accepted IDs and documents, read:
PNP Clearance Requirements 2026
Prepare a Stable Internet Connection
A slow or unstable connection can cause loading problems, incomplete submissions, or payment page issues.
Use a stable Wi-Fi or mobile data connection before filling out forms.
Step 1: Visit the Official NPCS Portal
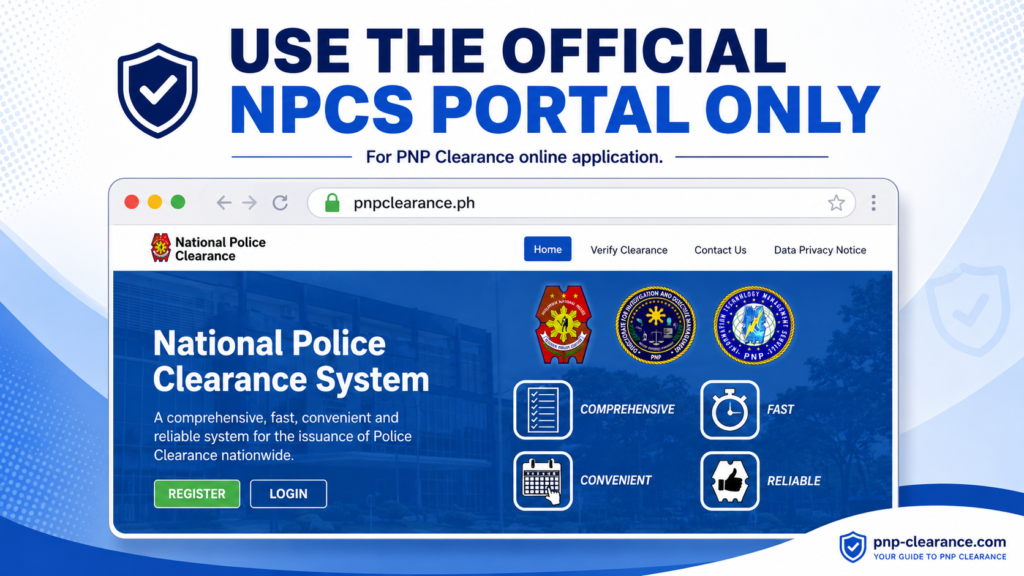
Start your application by visiting the official National Police Clearance System portal.
The official NPCS portal states that it is a system for the issuance of police clearance nationwide and provides access to Register, Login, and clearance application tutorial resources.
Important Safety Reminder
Do not enter your personal information on random websites, social media pages, or unofficial forms. Your PNP Clearance application contains sensitive personal information, so always check the website before typing your details.
What to Check Before Using a Website
Check if the website address is correct. For the official NPCS portal, use pnpclearance.ph. Avoid links from comments, private messages, or suspicious ads.
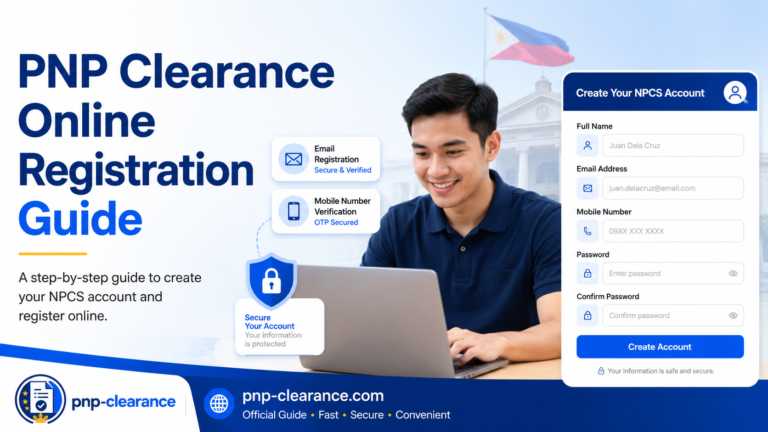
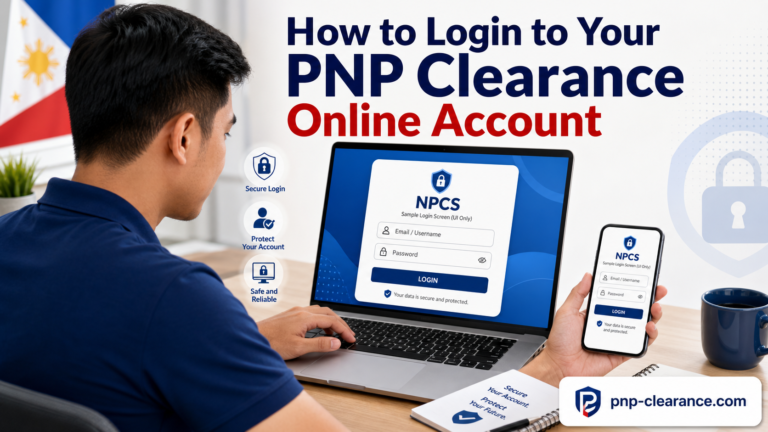
Step 2: Register or Log In to Your NPCS Account
If you are a first-time applicant, click Register. If you already have an account, click Login.
The official NPCS “How to Apply” tutorial says account registration is required for first-time applicants.
For First-Time Applicants
Create your NPCS account using your correct personal details. Use your active email, correct name, active mobile number, and a secure password.
Do not let strangers create your account for you. Your NPCS account is connected to your personal information.
Registration Reminder
Before clicking submit, check your name, email, mobile number, and password carefully. A simple typo can cause login or account recovery problems later.
For Existing Applicants
If you already have an NPCS account, do not create another account right away. Try logging in first.
If you forgot your password, use the official forgot password page. NPCS Forgot Password Page
The NPCS forgot password page says users can request a password reset using their email address or username, with a note that password reset requests may be limited daily.
Step 3: Complete Your Applicant Profile
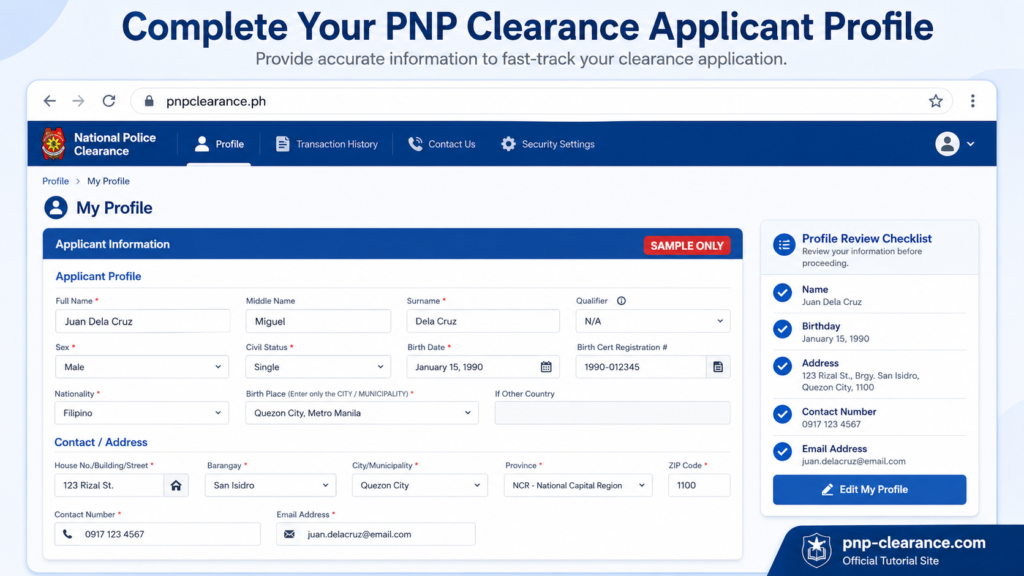
After logging in, complete your applicant profile. This part is important because the information you enter may be used for verification and clearance processing.
Details You May Need to Enter
Common applicant details include:
- Full name
- Birthdate
- Birthplace
- Gender
- Civil status
- Address
- Email address
- Mobile number
- Other information required by the portal
Review Before Saving
Check every field before saving your profile.
Profile Review Checklist
Before clicking save or continue, review:
- Name spelling
- Birthdate
- Birthplace
- Address
- Mobile number
- Civil status
- ID details, if requested
If your profile does not match your valid ID, you may experience delays or verification issues.
Step 4: Start Your Clearance Application
After completing your profile, look for the option to start your clearance application inside your NPCS account.
This is where your actual PNP Clearance transaction begins. Before proceeding, make sure your profile is complete and accurate.
What to Check Before Starting the Application
Check the following:
- Your account is active
- Your profile is complete
- Your details match your valid ID
- Your email and mobile number are correct
- You are ready to choose a police station
- You are ready to set an appointment
Beginner Tip
Do not rush this part. Once you proceed to appointment and payment, correcting details may become more difficult depending on your transaction status.
Step 5: Choose Your Preferred Police Station

After starting your application, choose the police station where you want to process your PNP Clearance.
How to Choose the Right Police Station
Choose a station that is:
- Near your home, workplace, or school
- Easy to travel to
- Available on your preferred schedule
- Practical for your budget and transportation
- A station you can actually visit on the appointment date
Avoid Choosing a Station Randomly
Do not choose a station only because it has the earliest slot. If the station is too far or hard to reach, you may miss your appointment.
Station Selection Tip
Before confirming, check travel time, transportation cost, and your personal schedule.
Step 6: Set Your PNP Clearance Appointment
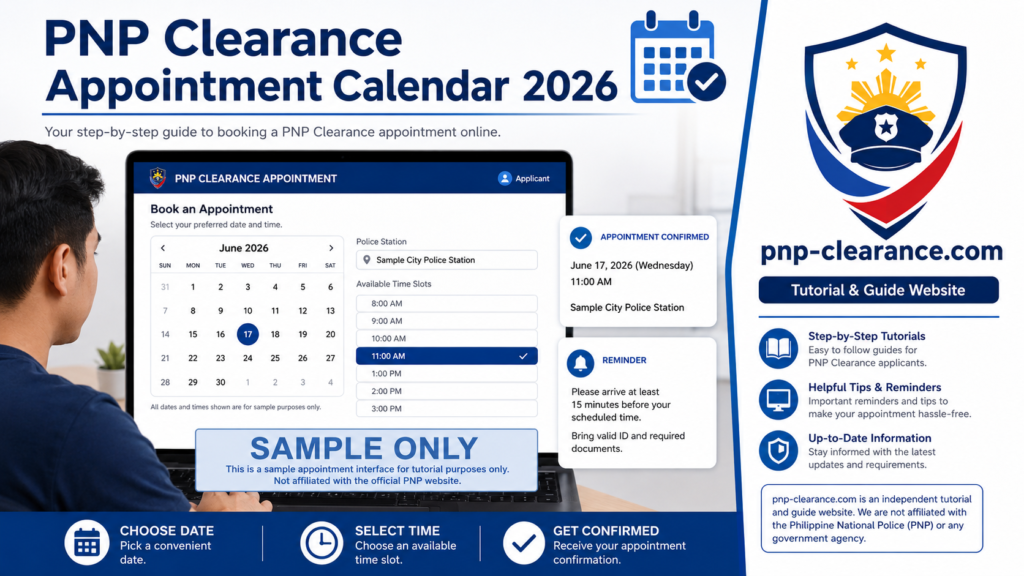
After selecting your police station, choose your appointment date and time.
Appointment Tips for Beginners
Before confirming your appointment, check:
- Police station name
- Appointment date
- Appointment time
- Your availability
- Travel time
- Payment instruction
Save Your Appointment Details
Take a screenshot of your appointment page or save the confirmation details on your phone.
Backup Tip
Send a copy of your appointment screenshot to your email or cloud storage. This is helpful if your phone has no signal or low battery on appointment day.
Step 7: Proceed to Payment
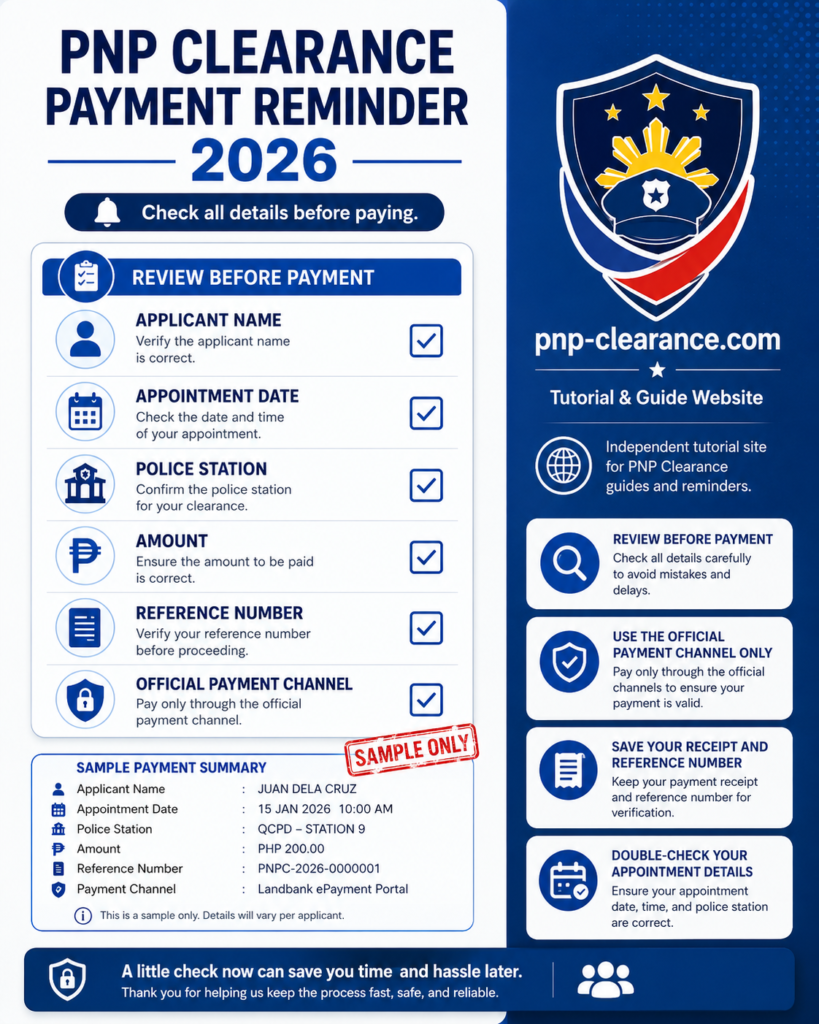
After setting your appointment, proceed to the payment section. Follow only the payment instructions shown inside the official NPCS portal.
Check Your Details Before Payment
Before paying, review:
- Applicant name
- Police station
- Appointment date
- Appointment time
- Amount to be paid
- Reference number
- Payment channel instructions
Avoid Unofficial Payments
Do not pay private individuals or social media pages claiming they can process your PNP Clearance faster.
Payment Safety Tip
Only follow the payment instructions shown in your official NPCS transaction. Do not use payment details from screenshots posted by other people.
Step 8: Save Your Reference Number and Proof of Payment
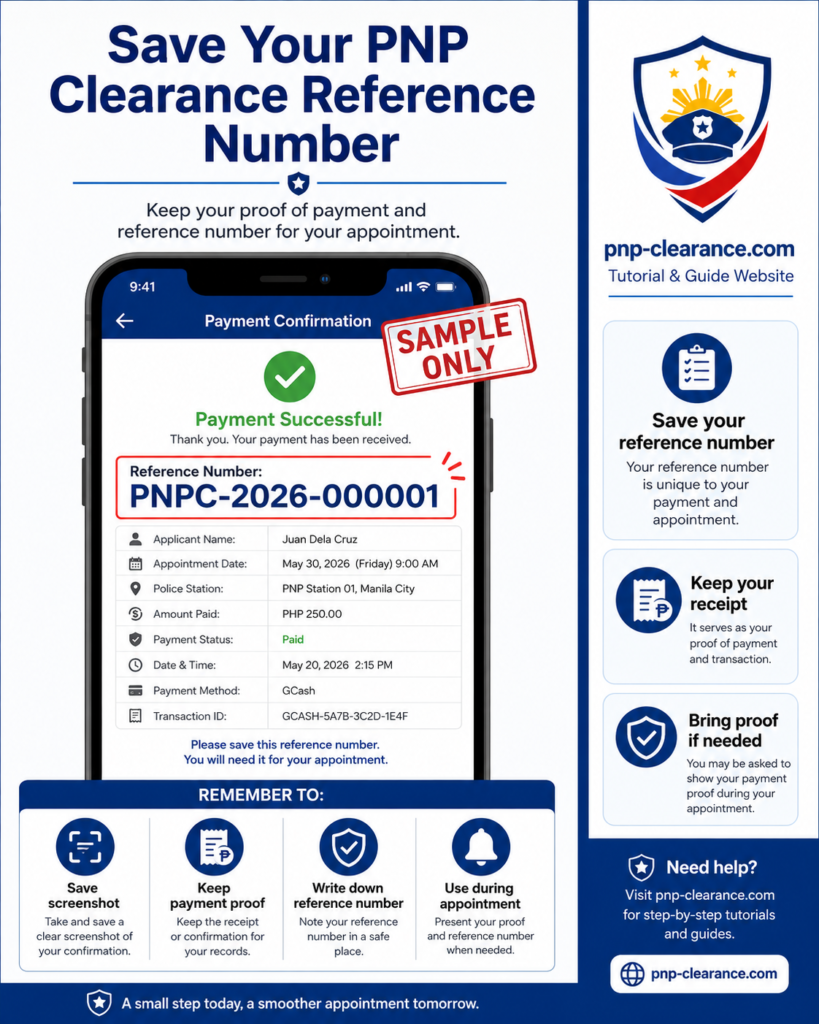
After payment, save your important transaction details.
Important Details to Save
Save the following:
- NPC reference number
- Payment confirmation
- Receipt screenshot
- Appointment confirmation
- Transaction details
The official NPCS tutorial materials reference the use of payment confirmation and NPC reference number as part of the application process.
Best Way to Save Your Proof
Take screenshots and save them in your phone gallery. You can also email them to yourself or print a copy.
Why This Matters
If your phone has no internet at the station, you can still show saved screenshots or printed proof.
Step 9: Visit the Selected Police Station If Required
Follow the instruction shown in your NPCS account. If you are required to visit the selected police station, go on your appointment date and bring your documents.
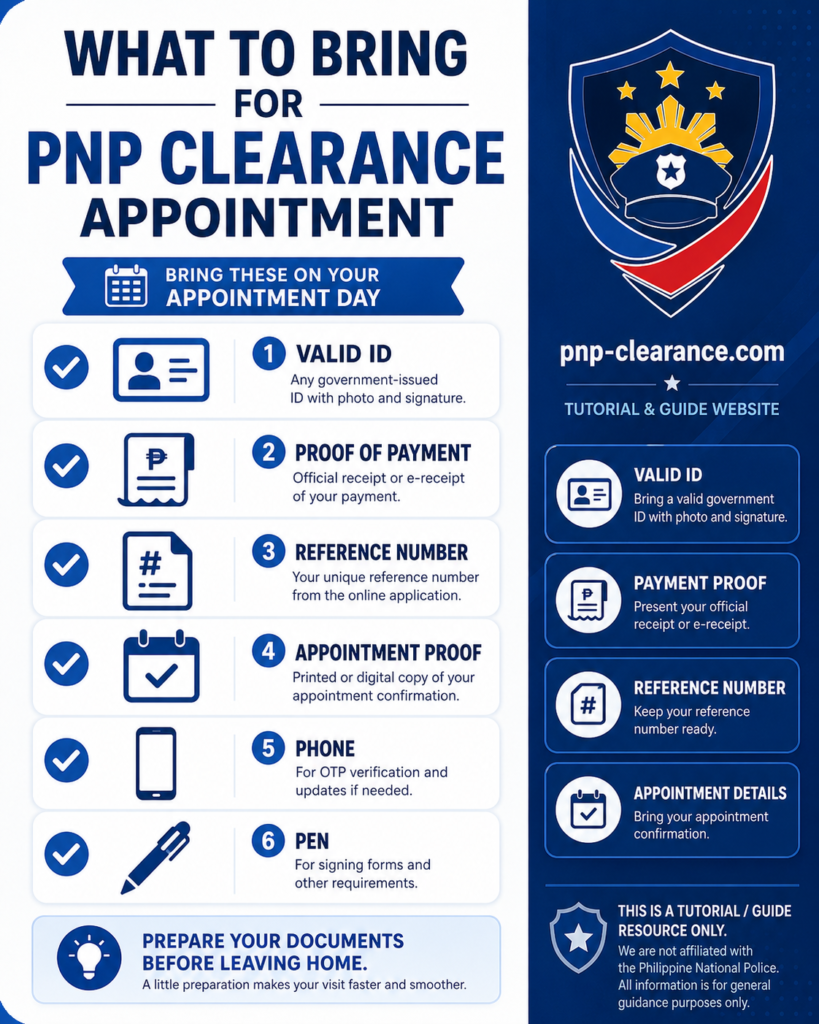
What to Bring on Appointment Day
Bring:
- Valid government-issued ID
- NPC reference number
- Proof of payment or payment confirmation
- Appointment details
- Phone with saved screenshots
- Printed copies, if available
Arrive Early
Arrive earlier than your scheduled time. This gives you allowance for transportation, queueing, document checking, and station procedures.
Appointment Day Tip
Wear proper attire and bring your own pen if needed. Also make sure your phone is charged.
Step 10: Complete Verification, Photo, and Fingerprint Capture
At the police station, your identity may be checked. You may also undergo photo capture and fingerprint capture depending on the process required for your application.
What Usually Happens During Verification
The station may check your:
- Valid ID
- Reference number
- Payment proof
- Appointment details
- Personal information
Follow Station Instructions
Be polite and follow the instructions of the station personnel.
Verification Tip
Make sure your name and birthday match your valid ID. If there is a mismatch, processing may be delayed.
Step 11: Wait for Processing and Claim Your Clearance
After verification, wait for the processing result. If there are no issues, your clearance may be released based on the station’s process or the instruction shown in your NPCS account.
Possible Results
Your application may result in:
- Clearance released
- Clearance available for download
- Additional verification required
- Return instruction from the station
What If There Is a Delay?
If there is a name match, record match, or verification issue, your release may take longer. Follow the instruction given by the station or shown in your NPCS account.
Processing Tip
Do not panic if your clearance is not released immediately. Ask for the proper instruction and expected next step.
Common Mistakes When Applying for PNP Clearance Online
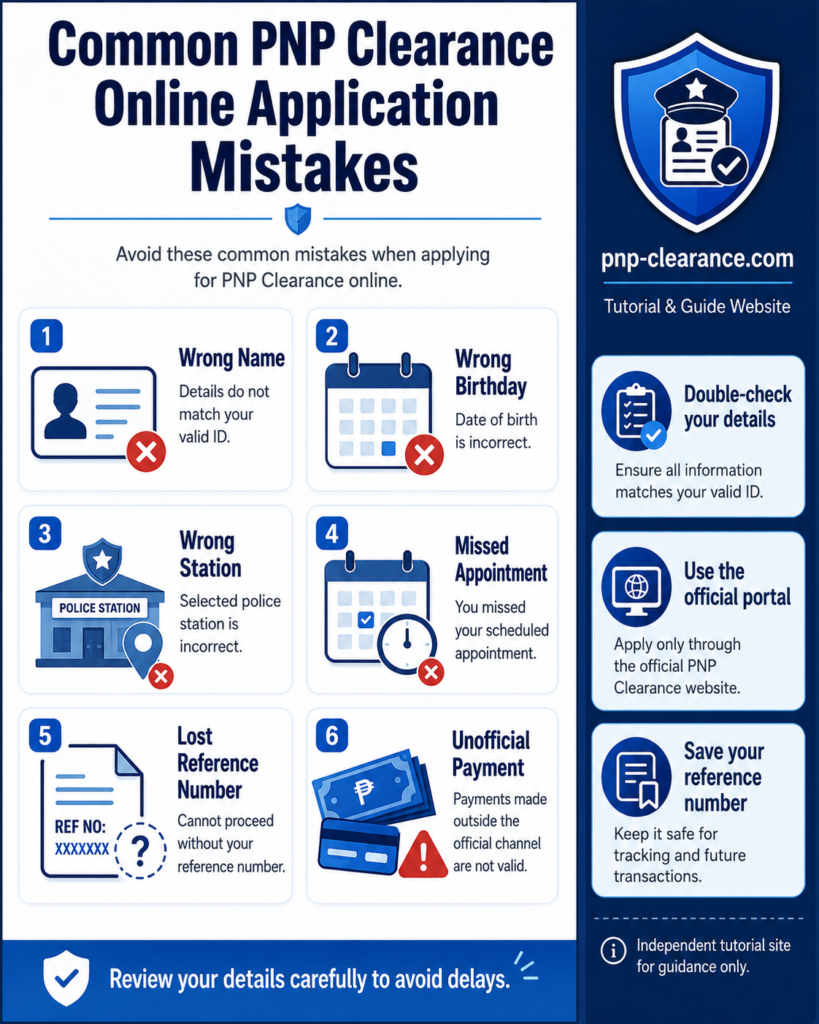
Using the Wrong Website
Always use the official NPCS portal. Fake websites may collect your personal data.
Typing the Wrong Name or Birthdate`
Your details should match your valid ID.
Choosing the Wrong Police Station`
Choose a station that you can actually visit.
Missing Your Appointment`
Check your schedule before confirming your appointment.
Not Saving Your Reference Number`
Save your NPC reference number, payment confirmation, and appointment details.
Paying Unofficial Agents`
Avoid fixers and unofficial payment instructions.
How to Avoid PNP Clearance Fixers
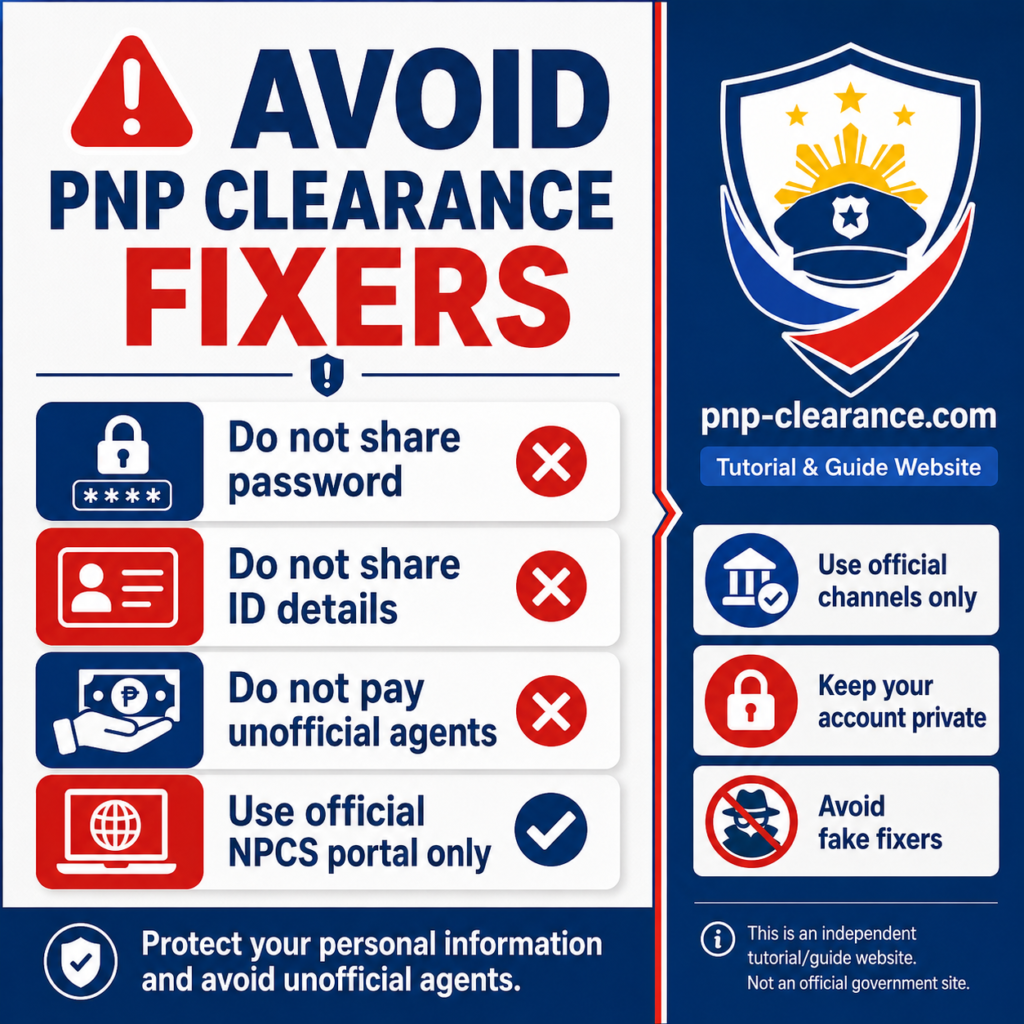
Do not trust people who promise guaranteed release, faster approval, or special processing in exchange for extra payment.
Do Not Share These Details
Avoid sharing:
- NPCS password
- Email password
- Valid ID photos
- Payment details
- Personal information
- Reference number, unless required by official personnel
Use Official Channels Only
Use the official NPCS portal and follow the instructions shown in your account.
Safety Reminder
Your clearance application contains personal information. Protect your account the same way you protect your bank or email account.
Beginner Tips for a Smooth PNP Clearance Online Application
Use a Stable Internet Connection
Slow internet can cause loading errors or incomplete transactions.
Use a Laptop If Possible
You can use a phone, but a laptop or desktop may be easier for filling out forms.
Double-Check Before Submitting
Review your name, birthdate, mobile number, email, station, and appointment date.
Save Screenshots
Save your appointment, payment confirmation, and reference number.
Arrive Early If You Need to Visit the Station
Do not arrive exactly on time. Arriving early gives you enough allowance.
Keep Your NPCS Account Private
Do not share your login details with anyone.
FAQs About How to Apply for PNP Clearance Online
Conclusion
Learning how to apply for PNP Clearance online is easier when you follow the process in the correct order. Start with the official NPCS portal, register or log in, complete your profile, start your clearance application, choose your police station, set your appointment, follow payment instructions, save your reference number, and complete the required verification steps.
For beginners, the most important reminders are simple: use the official portal only, prepare your valid ID, double-check your personal information, save your proof of payment, and avoid fixers.
For the complete guide, read:
PNP Clearance Online 2026 Complete Guide